
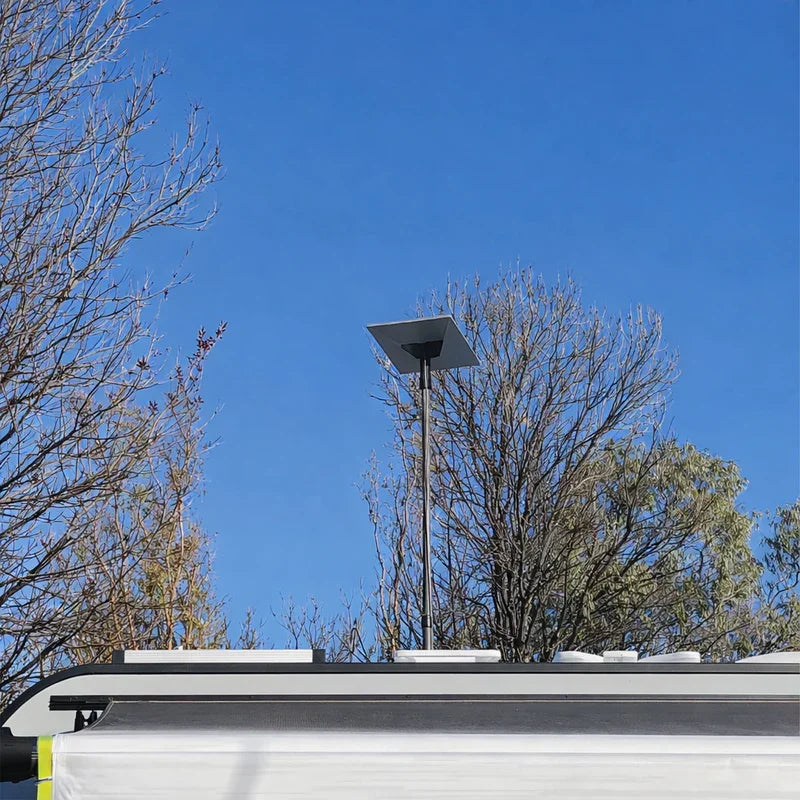
Why does the right Starlink roof install kit matter?
A Starlink roof install kit gives you the hardware needed to secure a Starlink terminal to a caravan, 4WD canopy, motorhome, shed, or home roof while keeping the cable entry weather-sealed and the dish clear of obstructions. Pick the right Starlink roof installation setup and you’ll have a much better chance of reliable, high-speed internet when you’re parked up, touring, or working remotely across Australia.
Key Takeaways
- Choose a Starlink mount that suits the surface, travel conditions, and amount of wind exposure your setup will face.
- Keep the dish’s sky view clear of trees, roof edges, solar panels, air-conditioning units, and other obstructions.
- Seal every roof penetration carefully so rain, dust, insects, and condensation cannot creep into the van or building.
- Use direct DC-to-DC power where suitable for better off-grid efficiency, lower battery draw, and cleaner custom setups.
- Stick with Australian-designed Starlink mounts and accessories that are built for heat, corrugations, and long-distance touring.
If you’re living, travelling, or working remotely across Australia, the difference between a tidy roof install and a rushed one usually shows up as dropouts, leaks, or a dish that never quite sits right. Starlink dishes need a broad view of the sky to track low-Earth orbit satellites, so even a partial blockage from a gum tree, roof overhang, aerial, or poorly placed mount can chew into your uptime.
The good news is that Starlink offers several official mount options for different roof types, and SpaceTek Australia stocks purpose-built Starlink accessories for caravans, 4WDs, motorhomes, sheds, homes, and remote work setups. This guide walks you through choosing the right kit, preparing your roof, drilling and sealing, routing your cable, and getting online.
How do you choose the right Starlink roof install kit?
Selecting the right Starlink roof install kit comes down to where you want to install the terminal and whether that surface stays still or travels down the highway. At SpaceTek Australia, we design and stock heavy-duty mounting hardware made from precision-machined or folded aluminium and reinforced composites, so it is better suited to harsh sun, salt air, dust, and corrugated tracks than a generic one-size-fits-all setup.

When you’re comparing Starlink mounts, think about the surface first:
- Pivot Mount: Suits sloped roofs or gables because it helps keep the dish base level on angled surfaces.
- Ridgeline Mount: Works for some stationary roof installs where a non-drill, weighted setup is preferred, provided the roof type and slope are suitable.
- Wedge Mount Kit: Suits flat horizontal surfaces such as caravans, RVs, canopies, and enterprise-style installs where a low-profile, fixed-angle setup is helpful.
- Roof Rack Mount: Suits touring rigs with crossbars and makes sense when you want the dish mounted to existing vehicle hardware.
- Pipe Adapter Mount: Suits suitable existing metal poles where the pole size and strength match the Starlink mount requirements.
For a deeper look at residential and stationary mount choices, read our Starlink roof mounts complete guide or explore Starlink Gen 3 roof mount kits.
What changes between Standard and Enterprise kit setups?
Whether you use a Standard Kit or an Enterprise Kit affects how you plan cable routes, mounting position, and hardware access. The official Starlink Enterprise accessories guide is worth checking before you lock in a commercial or large-vehicle install.
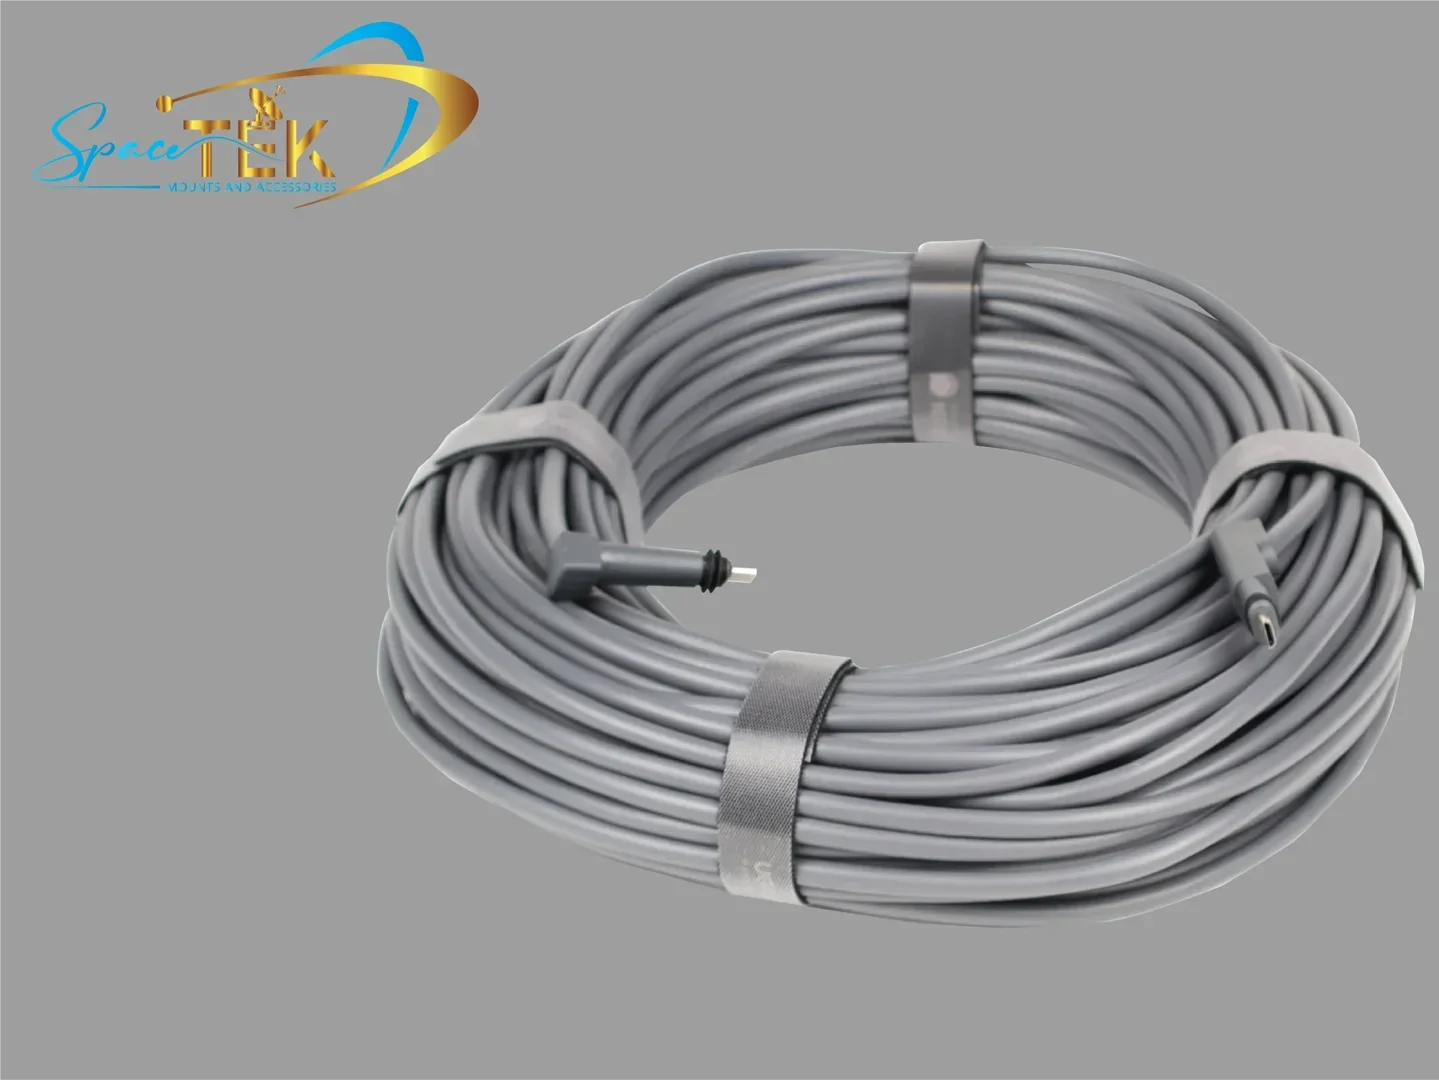
The Standard Kit comes with a shorter cable that generally suits compact caravan, RV, shed, or home layouts. The Enterprise Kit uses a longer, heavier-duty cable, which can suit larger buildings, commercial vehicles, or more complex routes where the router sits further from the dish.
Cable removal also needs care. Instead of hunting for a release clip that may not exist on your connector, grip the connector body and pull it straight out so you do not damage the plug or port.
Which Starlink mounts suit caravans, RVs, and moving vehicles?
Installing a satellite dish on a moving vehicle adds wind load, vibration, and road shock. A dedicated wedge mount or roof rack mount helps keep the dish secure when the install is planned properly and fastened to a suitable structure.
For mobile setups, keep these practical checks in mind:
- Aerodynamic orientation: Install wedge mounts with the low end facing the front of the vehicle to help reduce wind resistance.
- Drainage: Use the built-in slant of the wedge-style mount to help rain run off instead of pooling around the dish.
- Even fastening: Tighten mounting hardware evenly so the load is spread across the base rather than concentrated on one corner.
- Secondary safety tether: Add an independent tether to a sound structural point for extra security in high wind or long highway runs.
To browse mobile-ready hardware built for Australian touring conditions, check out our Gen 3 / V4 mounts accessories.
What tools and safety gear do you need before roof mounting?
Working on a vehicle or building roof can go wrong quickly, so get your tools and safety gear sorted before you climb up. Wear eye protection, work gloves, non-slip footwear, and a certified safety harness if you are working on a steep or exposed roof.
Keep these specialised tools and hardware items on hand before starting:
- Cordless drill with suitable drill bits for pilot holes and cable entry work
- Hex socket or spanner suited to the supplied hardware
- Torque wrench if the mount instructions specify a tightening value
- Neutral-cure marine silicone sealant and sealing washers
- Suitable fasteners for timber, metal, composite, or roof rack installations
Refer to the official Starlink Standard install guide to double-check factory hardware guidance before driving fasteners into your vehicle or home structure.
How should you check the site before drilling?
Before drilling into any surface, confirm that your chosen position gives the dish a clean view of the sky. Starlink dishes need a broad, unobstructed view so they can keep communicating with satellites as they move overhead.
Follow these steps before you commit to the mounting position:
- Download and open the Starlink App on your mobile phone.
- Select the obstruction-checking tool.
- Stand at your intended roof mounting location and sweep your phone camera across the sky by following the app prompts.
- Check that trees, roof overhangs, air-conditioning units, solar panels, antennas, and nearby structures stay out of the clear zone.
- Move or raise the proposed location if nearby objects are likely to interrupt the signal.
How do you install a Starlink dish mount on an RV roof?
Fitting a Starlink dish mount to a caravan, motorhome, camper trailer, or 4WD canopy roof is all about solid anchoring and careful sealing. Take your time here, because a neat install helps prevent water ingress, rattles, and movement on corrugated roads.

If you are equipping a caravan, camper trailer, or motorhome, review our dedicated range of RV and caravan Starlink mounts.
What are the basic steps for installing a Starlink roof install kit?
Follow this sequence to assemble and secure your dish mount kit:
- Clean the installation surface: Scrape away old sealant, dust, road grime, and wax from the area, then wipe it down so the sealant can bond properly.
- Remove the kickstand: Squeeze the release tab on the back of the dish kickstand and detach the stock desktop base.
- Mark and drill pilot holes: Position the base plate, confirm the direction if you are using a vehicle mount, mark the hole centres, and drill suitable pilot holes.
- Apply weatherproofing sealant: Add neutral-cure marine silicone into each drilled hole and around the base footprint to help keep water out.
- Fasten the mounting base: Use fasteners suited to the roof structure, then tighten them evenly in a cross pattern rather than overloading one side.
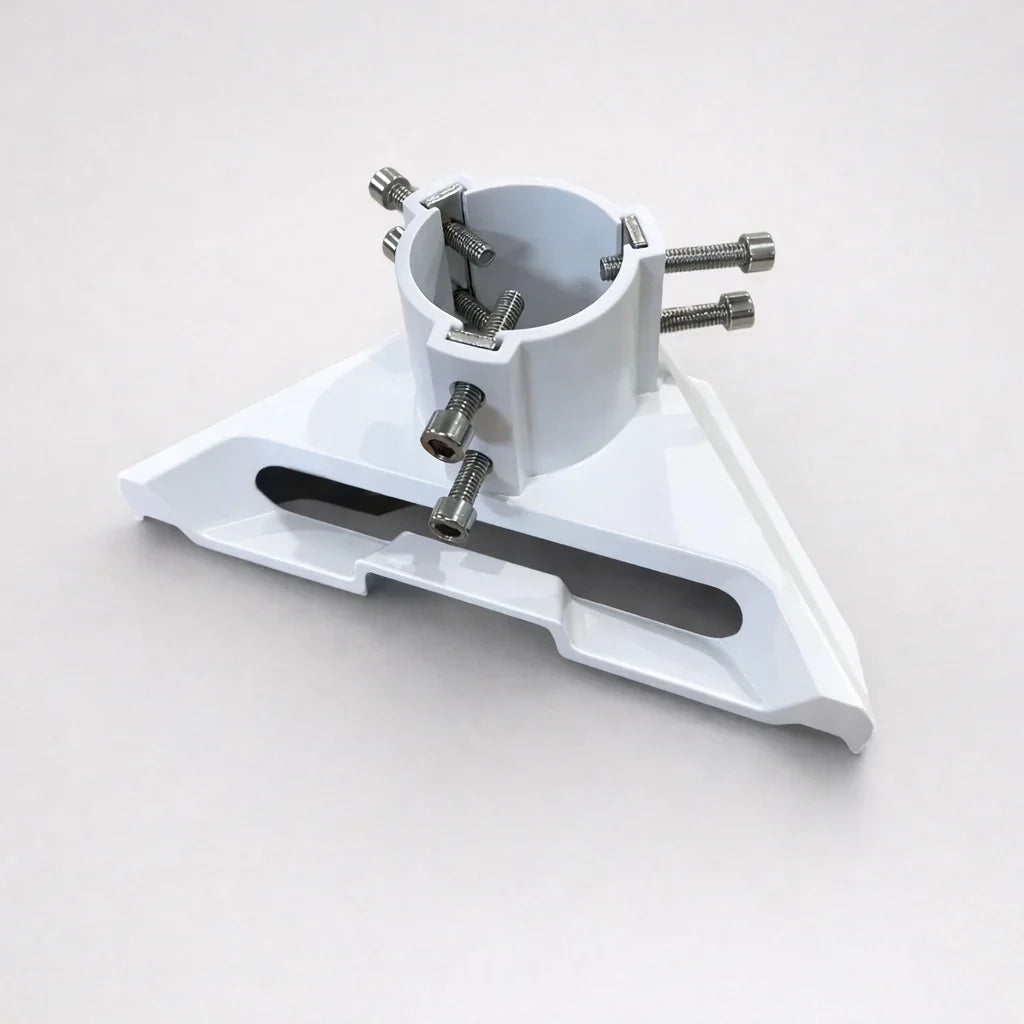
- Lock the dish in position: Insert the dish stem into the mount receiver until it seats securely, then tighten the external locking screws if your mount uses them.
- Attach a safety tether: Secure a stainless steel safety tether from the dish frame to a strong anchor point on the vehicle roof rack or structure.
How do you route and weatherproof the Starlink cable?
Routing the Starlink cable into your interior living space needs a neat, watertight penetration. A rushed cable entry can let water, dust, and insects into the roof cavity or wall lining, so this step deserves proper care.
Use these best practices when routing cabling through walls or roof structures:
- Drill on a slight fall: Angle the cable penetration so water naturally runs away from the interior instead of following the cable inside.
- Protect the cable curve: Avoid forcing the cable around tight corners, because sharp bends can damage the internal wiring.
- Use a cable entry cover: Run the cable through a weather-sealed cable clam or entry housing, then seal the cavity carefully.
- Seat the connector properly: Push the cable connector into the dish port until it sits flush and secure.
- Remove connectors gently: Pull straight out from the connector body rather than twisting or yanking the cable.
For more help choosing roof fittings for Australian homes, sheds, and touring vehicles, read how to choose the right Starlink mount for your roof type in Australia.
How do you align, power, and troubleshoot your Starlink setup?
Once the dish is mounted and the cable is connected inside, power up the system and let the Starlink App guide you through alignment. The official Enterprise install guide is useful for advanced network details, but most caravan and home installs come down to clear sky view, tidy cabling, and stable power.
Modern Starlink terminals use motorised alignment or app-guided positioning prompts:
- Plug the terminal into your chosen power source and open the Starlink App.
- Let the dish align itself where supported, and do not force or rotate it by hand.
- Check the app alignment screen and make small mount adjustments only if the app prompts you to do so.
- Monitor the router status during setup, then confirm the app shows the service is online and stable.
For off-grid RV use, running an AC inverter all the time can waste battery capacity through conversion losses, heat, and extra standby draw. StarPower V2, V3, and V4 DC power supplies are a stronger option for suitable setups because they use direct DC-to-DC power, reduce unnecessary conversion steps, lower overall draw, and can support cleaner custom network layouts that bypass the Starlink router where appropriate.
What questions do people ask before installing Starlink on a roof?
How do I fix the Starlink unreachable error when using a third-party router?
When you connect your Starlink terminal directly to a third-party network router or mesh system, the Starlink App may show a Starlink Unreachable error. In plain English, the router may not know how to send management traffic back to the dish’s status page.
To fix it, log in to your third-party router’s admin dashboard and add a static route using the Starlink dish management network details recommended for this type of setup. If you are not comfortable changing router settings, ask a network installer to handle it so you do not disrupt the rest of your connection.
Once saved correctly, the static route sends app management requests through the right path to the dish, restoring live status monitoring without changing normal internet access.
Can a Starlink roof mount kit handle high winds on a moving vehicle?
Yes, as long as you choose a dedicated wedge mount or roof rack mount designed for mobile use and install it correctly. The key is to fasten the dish mount to a suitable structural point, keep the low end of a wedge-style mount facing forward, and add a secondary stainless steel safety tether for extra security.
What is the advantage of using DC-to-DC power for an RV roof install?
Direct DC-to-DC power avoids the extra conversion steps involved when battery power is sent through an AC inverter before being converted back again. StarPower V2, V3, and V4 DC power supplies are better suited to off-grid Starlink setups because they improve efficiency, lower draw, reduce inverter heat and fan noise, and can let suitable custom setups bypass the Starlink router.
Ready to build a cleaner Starlink roof setup?
Installing a Starlink roof install kit on your caravan, RV, 4WD canopy, shed, or home can give you reliable, high-speed internet across remote Australia when the dish has clear sky view, the mount is solid, and the cable entry is properly sealed. Choose the right Starlink roof installation hardware, check obstructions before drilling, and take your time with weatherproofing so the setup is ready for rough roads and sudden storms.
SpaceTek Australia manufactures custom, rust-resistant Starlink mounts from precision-machined or folded aluminium and reinforced composite materials. Whether you need a low-profile wedge mount for a caravan or a heavy-duty roof mount for an off-grid setup, our range is built for Australian touring conditions and practical satellite performance.

Leave a comment
This site is protected by hCaptcha and the hCaptcha Privacy Policy and Terms of Service apply.