Why Proper Installation Matters for Your Starlink Connection

Following the right Starlink mounting instructions is crucial for reliable satellite internet, especially in Australia's challenging conditions. A secure, correctly positioned mount is the difference between fast, consistent connectivity and frustrating service interruptions.
Quick Answer: Core Starlink Mounting Steps
- Download the Starlink App to check for obstructions and find a clear sky view.
- Choose your mount type based on location (wall, roof, pole, or vehicle).
- Mark and drill pilot holes over structural beams for secure attachment.
- Apply weatherproof sealant around all drilled holes to prevent water damage.
- Route cables properly using included clips and keeping connections protected.
- Connect power and align the dish using the app's built-in alignment tool.
The Starlink Standard kit includes a 15-metre cable, kickstand, Gen 3 router, and power supply. However, most permanent installations require additional hardware. A high-quality, weather-resistant mount is essential for long-term performance.
I'm Aaron Wroblewski, founder of SpaceTek Australia. With over 25 years of experience in satellite systems across remote Australia, I've helped thousands of users steer their Starlink installation, from rural homesteads to off-grid caravans. This guide breaks down the process into simple, manageable steps anyone can follow.
Find more about Starlink mounting instructions:
- Gen 2 vs. Gen 3: What Mount Upgraders Need to Know
- Starlink Gen 3 Accessories
- Waterproof Bulkhead RJ45 Socket Connector
Preparing for Your Starlink Installation
Proper preparation is key to a smooth installation. Let's cover the contents of your kit, the tools you'll need, and how to find the perfect spot for your dish.

Your Starlink kit comes with the basic components for a temporary setup, including the dish, router, cables, and a kickstand for ground-level use.
For a permanent installation, you will also need:
- Drill/Impact Driver: For creating pilot holes.
- Drill Bits: A 6 mm (1/4 inch) bit is commonly used for pilot holes.
- Hex Socket: A 9/16 inch socket is often required for lag screws.
- Marker & Level: To ensure accurate, straight placement.
- Sealant: High-quality, weatherproof silicone sealant is crucial for protecting drilled holes from water and pests in the harsh Australian climate.
- Safety Gear: Eye protection, gloves, and appropriate footwear are non-negotiable.
- Starlink App: Your essential tool for finding the best location and aligning the dish.
Finding the Best Location
Optimal Starlink performance requires a clear, unobstructed view of the sky. Objects like tree branches, poles, or parts of your roof can block the signal and cause interruptions. The Starlink App is the best way to find a suitable location.
Use the Starlink App's "Check for Obstructions" Tool
Before drilling, download the Starlink App and use its "Check for Obstructions" feature. Stand where you plan to mount the dish and scan the sky with your phone. The app will create a visual map of any potential obstructions, helping you find a spot with a 360-degree clear view.
If the ground level is obstructed, an liftd location like a roof, sturdy pole, or exterior wall is your best option. Our range of durable SpaceTek mounts is designed to get your dish up high and clear of obstacles.
Safety First: Pre-Installation Checks
Safety is paramount, especially when working at heights or with power tools. Please take these precautions seriously.
- Working at Heights: If mounting on a roof or high wall, use a stable ladder and have a spotter. Consider a safety harness and never work alone at heights.
- Drilling Safety: Wear eye, hand, and face protection. Use a stud finder to ensure you don't drill into electrical wiring, plumbing, or gas lines. Drilling at a slight downward angle from inside to outside helps prevent water ingress.
- Wind Loads: Starlink dishes are robust, but in areas prone to cyclones or severe storms, we strongly recommend tethering your dish and mount for extra security.
- Professional Installer: If you are uncomfortable with any part of the installation, especially working at heights or drilling into your home, we highly recommend contacting a professional. You can find an installer through our network.
Your Complete Starlink Mounting Instructions Guide
Now that you're prepared, let's get your Starlink mounted. While the included kickstand is great for temporary setups, a permanent mount is the best way to ensure reliable, long-term service in Australian conditions.
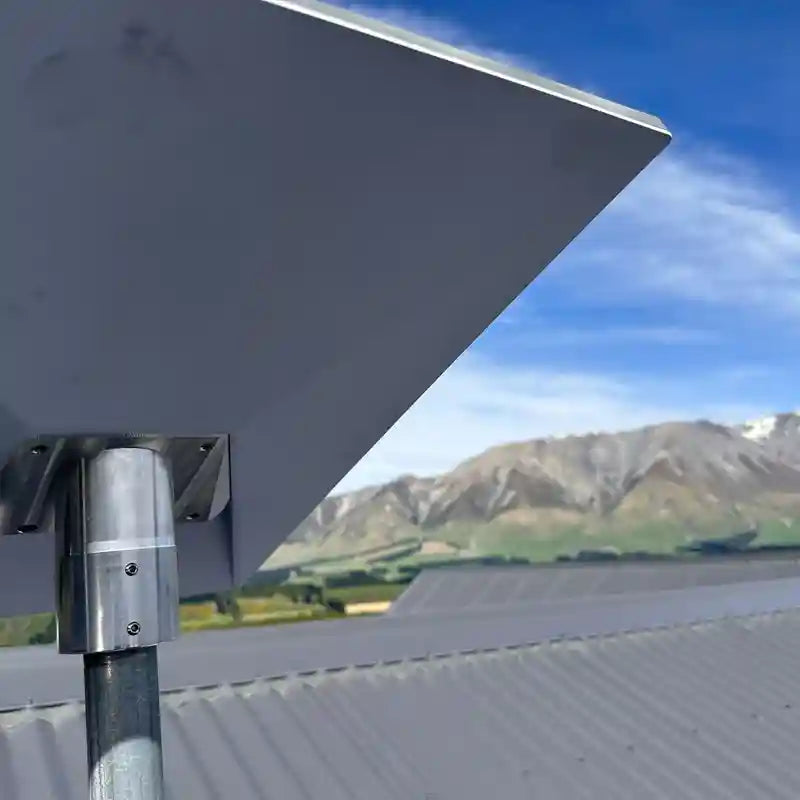
Our SpaceTek mounts are crafted from high-quality, rust-resistant materials like aluminium to be fully compatible with Starlink's self-install kits, providing the durability needed to withstand the elements.
Mounting Solutions for Starlink Gen 3 (Standard Dish)
This guide focuses on the current Starlink Standard (Gen 3) kit. The right mount depends on your location and where you can get the clearest sky view. You can explore more info about Starlink Mounts on our website.
Common Mount Types:
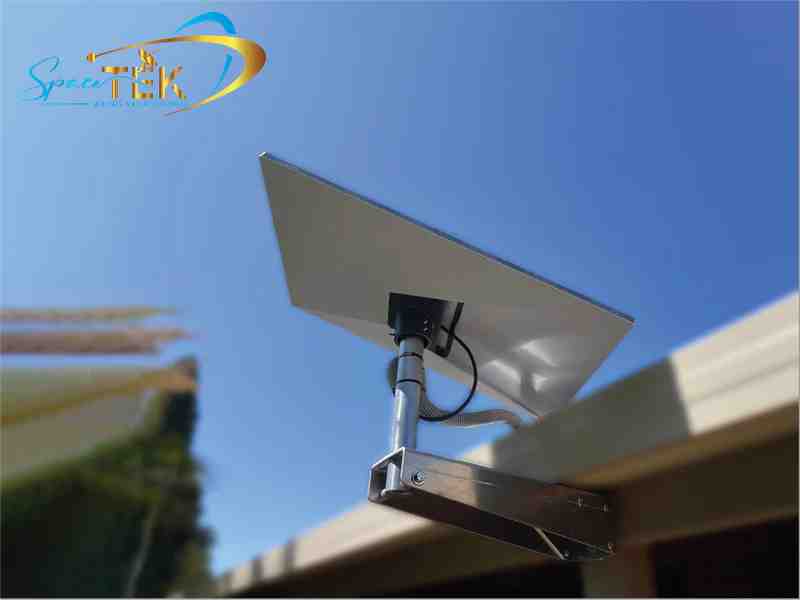
- Wall Mounts: Ideal for achieving height and clearing ground-level obstructions. SpaceTek offers a variety of wall mounts to accommodate different roof overhangs and installation needs.
- Roof Mounts: A great choice for many homes. Our range includes mounts suitable for slanted or flat roofs, with options for both penetrating and non-invasive installations to ensure a secure, watertight fit. See our full range of roof mounts.
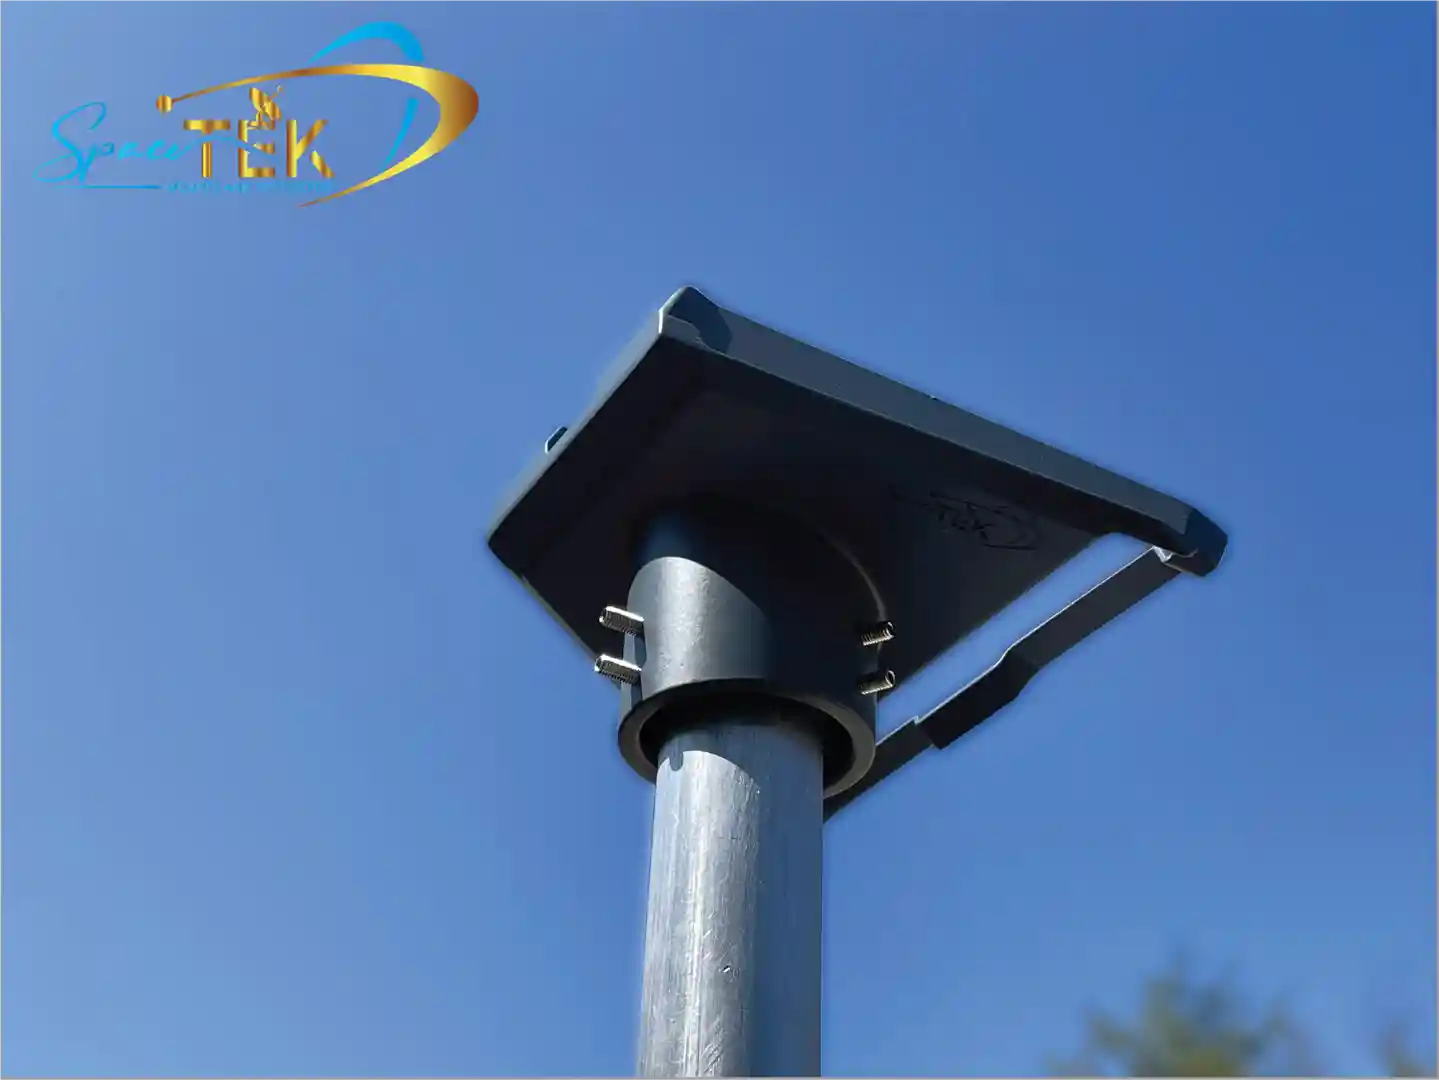
- Pole Mounts: When a wall or roof isn't suitable, a pole mount can get your dish above obstructions. We offer solutions for in-ground installation, as well as versatile pole adapters that let you use an existing pole or mast.
General Installation Steps for Walls and Roofs:
- Mark Holes: After finding the best spot with the Starlink App, hold the mount in place and use a level to mark your drill holes.
- Locate Structural Beams: For maximum stability, always try to drill into a wall stud or roof rafter.
- Drill Pilot Holes: Use a 6 mm (1/4 inch) drill bit. Remember to wear eye protection and check for hidden wiring or plumbing.
- Apply Sealant: Apply a generous amount of weatherproof silicone sealant in and around each hole to create a waterproof barrier.
- Secure the Mount: Fasten the mount with the provided lag screws, tightening to the manufacturer's recommended torque (e.g., 7 N-m).
- Route Cable: Run the Starlink cable into your home, using the included clips to keep it tidy and ensuring any entry points are fully sealed against weather.
Mobile Starlink Mounting Instructions: RVs, Boats, and Vehicles
Mounting Starlink on a moving platform requires special attention to safety and stability. Our RV and Portability mounts are designed for the challenges of life on the move.
- In-Motion Use: If you plan to use Starlink while moving, ensure your mount is rated for in-motion use and complies with local transport regulations.
- Structural Integrity: The mount must be fixed to a structurally sound, horizontal surface to handle vibrations and movement.
- Maritime Installation: On boats, maintain safe distances from other RF equipment (e.g., at least 4 metres from Radars/VSAT antennas) and ensure the dish is mounted higher than any magnetic compass to avoid interference.
Finalising Setup and Troubleshooting
With your Starlink dish securely mounted, the final steps are to power on, align the dish, and configure your Wi-Fi network.
Aligning Your Dish and Connecting to Wi-Fi
- Power On: Connect the Starlink cable to the router (the port with the antenna symbol), then plug the Gen 3 Router into a power outlet. The system will power on automatically.
- Automatic Alignment: Your Starlink dish will automatically orient itself to find the best signal from the satellites.
- App Alignment Tool: If the Starlink App indicates a misalignment, use the built-in alignment tool to make minor adjustments until it's perfectly oriented. Securely tighten any adjustment screws on your mount.
- Router Placement: Place your router in a central location for the best Wi-Fi coverage throughout your home or vehicle.
- Connect to Wi-Fi: Open the Starlink App, which will prompt you to connect to the default "STARLINK" Wi-Fi network.
- Customise Network: The app will then guide you to set a custom Wi-Fi network name (SSID) and password.
-
Monitor Status: Use the app to check your connection status. The router lights also provide quick diagnostics:
- Flashing White: Trying to connect.
- Solid White: Connected to the internet (light turns off after 1 hour).
- No Light: No power.
- Red Light: Not connected (light turns off after 1 hour).
- Violet Light: Router is in bypass mode (requires a factory reset).
For a detailed walk-through on setting up your network, you can review the Setting it up with the Starlink app guide.
Ensuring a Secure, Long-Lasting Installation
Following these Starlink mounting instructions carefully is the key to a secure, long-lasting installation. The importance of a quality mount cannot be overstated, especially when facing Australia's diverse and often challenging weather conditions.
At SpaceTek Australia, we specialise in high-quality, rust-resistant mounts designed for the rigours of the Australian environment. Our mounts, crafted from durable aluminium and carbon fibre, are fully compatible with Starlink's self-install kits and provide the security and optimal performance you need.
Whether you're setting up Starlink at a remote homestead, on a caravan exploring the outback, or on a boat navigating our coastline, a robust and properly installed mount is your foundation for reliable internet.
For expert advice and to find the perfect mounting solution for your Starlink, don't hesitate to contact us at SpaceTek Australia. We're here to help you stay connected, wherever your Australian adventures take you.
Leave a comment
This site is protected by hCaptcha and the hCaptcha Privacy Policy and Terms of Service apply.