
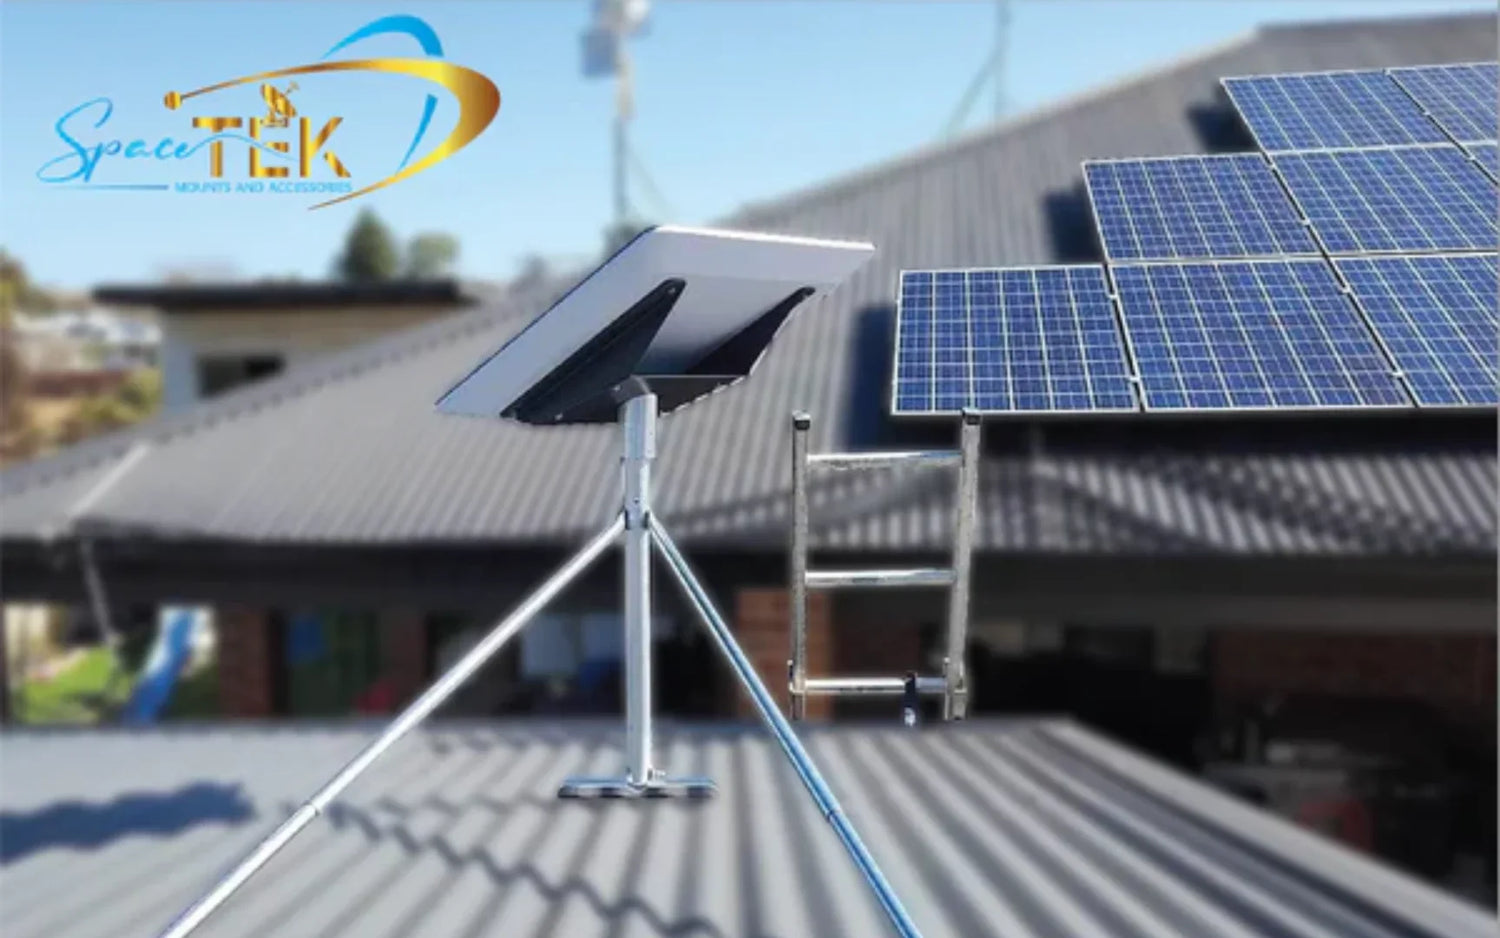
How to Install Starlink Yourself: Easier Than You Think
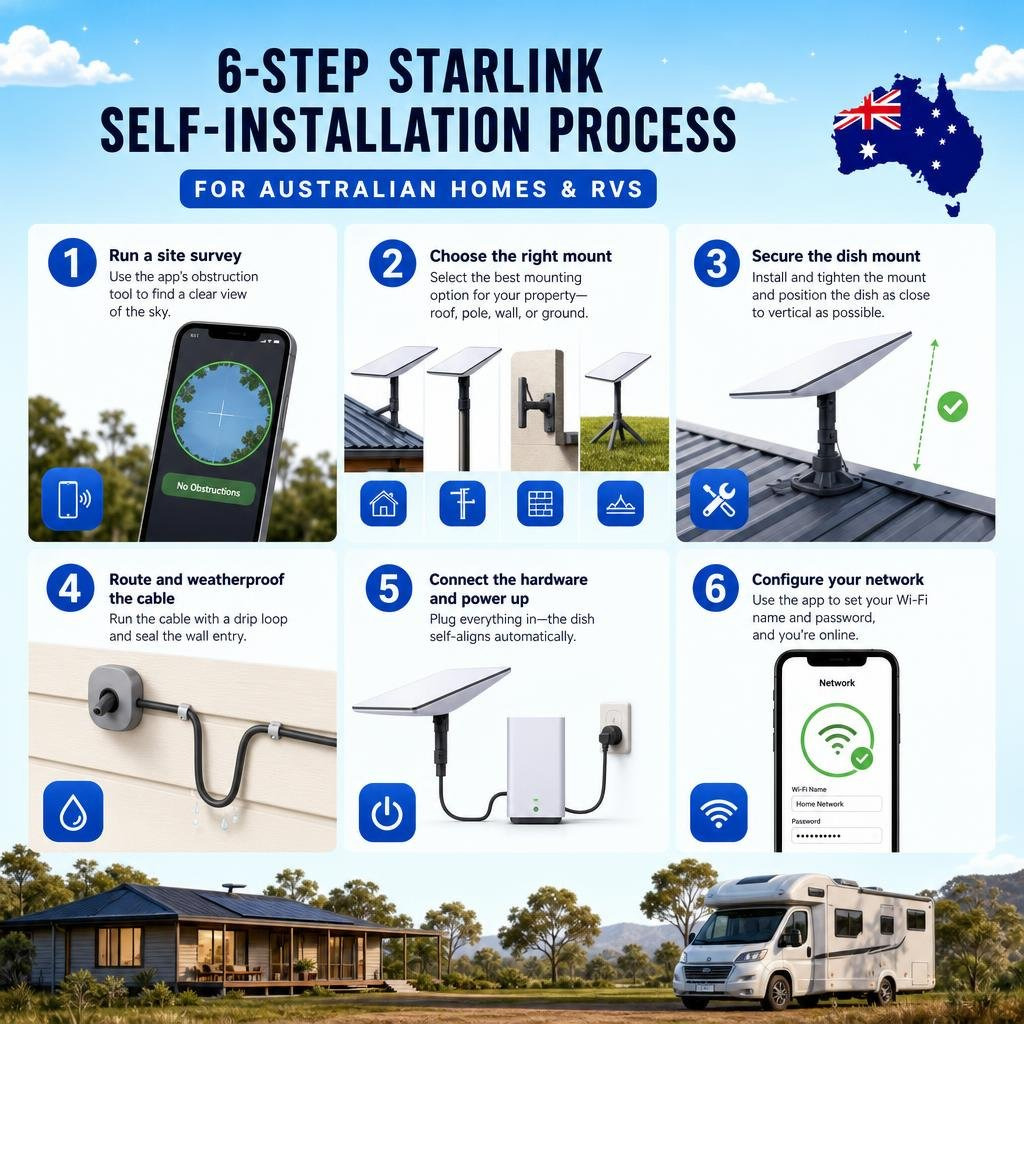
To install Starlink yourself, you need to run a site survey using the Starlink app to find an obstruction-free location, choose and secure a suitable Starlink mount, route and weatherproof the cable into your home, connect the hardware, and configure your network settings via the app. This straightforward process is something the vast majority of new owners complete successfully, often finishing in just a few hours with basic hand tools.
Here is a quick overview of the six steps:
- Run a site survey using the Starlink app's obstruction tool to find a clear view of the sky
- Choose the right mount for your property — roof, pole, wall, or ground
- Secure the dish mount and position the dish as close to vertical as possible
- Route and weatherproof the cable with a drip loop and sealed wall entry
- Connect the hardware and power up — the dish self-aligns automatically
- Configure your network via the Starlink app, set your Wi-Fi name and password, and you're online
If you're in a rural or remote part of Australia, chances are you've already put up with slow, unreliable internet for too long. Starlink changes that — and the good news is the whole system is designed to be set up without a technician.
That said, "plug and play" only gets you so far. A significant portion of Starlink connectivity issues come down to poor placement or improper installation — not the service itself. A tree in the wrong spot, a cable routed without a drip loop, or a dish mounted too low can all quietly ruin your experience.
This guide walks you through every stage of the process — from unboxing to getting online — with practical tips tailored for Australian homes, properties, and mobile setups.
What Comes in the Box and What Tools Do You Need?
Before you climb onto your roof or start drilling holes in your walls, you need to know exactly what you are working with. The contents of your kit will depend on whether you have purchased the standard Gen 3 kit or the ultra-portable Starlink Mini.
For the standard Gen 3 hardware, your box contains:
- The Starlink Gen 3 dish (which is wider and flatter than previous generations, lacking the older motorized neck)
- The Gen 3 Wi-Fi router (which supports Wi-Fi 6)
- A standard kickstand for quick, temporary ground setups
- A 15-metre (49.2 ft) Starlink cable
- A power supply unit and AC power cable
If you have purchased the Starlink Mini, your kit is much more compact. It features an integrated Wi-Fi router built directly into the back of the dish, a kickstand, a pipe adapter, a flat mount, and a 15-metre DC power cable.
To complete a permanent DIY installation, the basic temporary kickstands will not cut it for long-term use. You will need a dedicated mount and a few essential tools:
- A drill with a 3/4-inch (19mm) spade or masonry bit for wall penetrations
- A high-quality screwdriver and socket set
- A level to ensure your mounting surface is plumb
- UV-resistant cable clips or zip ties
- Premium polyurethane roof sealant (avoid standard silicone on asphalt shingles, as it breaks down under intense Australian UV rays within two to three years)
- A sturdy ladder and appropriate safety gear (gloves and eye protection)
For a comprehensive breakdown of the hardware you might need for different setups, check out our guide on Starlink Mounting Hardware Everything You Need to Know.
How to Install Starlink Yourself: The 6-Step Guide
Now that your tools are ready, let's dive into the step-by-step process of setting up your system. Following these steps in order will ensure you get maximum speeds and zero dropouts.
Step 1: Run a Site Survey Before You Learn How to Install Starlink Yourself
The single biggest mistake DIYers make is mounting their dish before checking for obstructions. Starlink satellites move rapidly across the sky. To maintain a stable connection, your dish requires a clear, 110-degree obstacle-free view of the heavens. Even a single overhanging tree branch can cause irritating drops in service, especially if you rely on real-time applications like video calls or gaming.
Before drilling any holes, download the official Starlink app on your smartphone. Head to your proposed installation site, open the "Check for Obstructions" tool, and follow the on-screen prompts to scan the sky.
Remember that trees grow. A clear view in winter might become a major obstruction in spring and summer when foliage returns. If you want to learn more about selecting the perfect spot, read our Starlink Installation Guide Where Should You Set Up Your Dish.
Step 2: Choose the Right Mount When You Decide How to Install Starlink Yourself
Once you have identified a spot with zero obstructions, you need to choose how you will secure the dish. The temporary ground tripod is great for testing, but high winds, curious wildlife, and lawnmowers mean you need a permanent mounting solution.
Your main options include:
- Roof Mounts: Ideal for maximum elevation. These can be tile roof mounts, tin roof mounts, or non-penetrating ridge mounts that use ballast weights instead of screws.
- Wall Mounts: Perfect for mounting to eaves or exterior walls, keeping the dish high while avoiding roof penetrations.
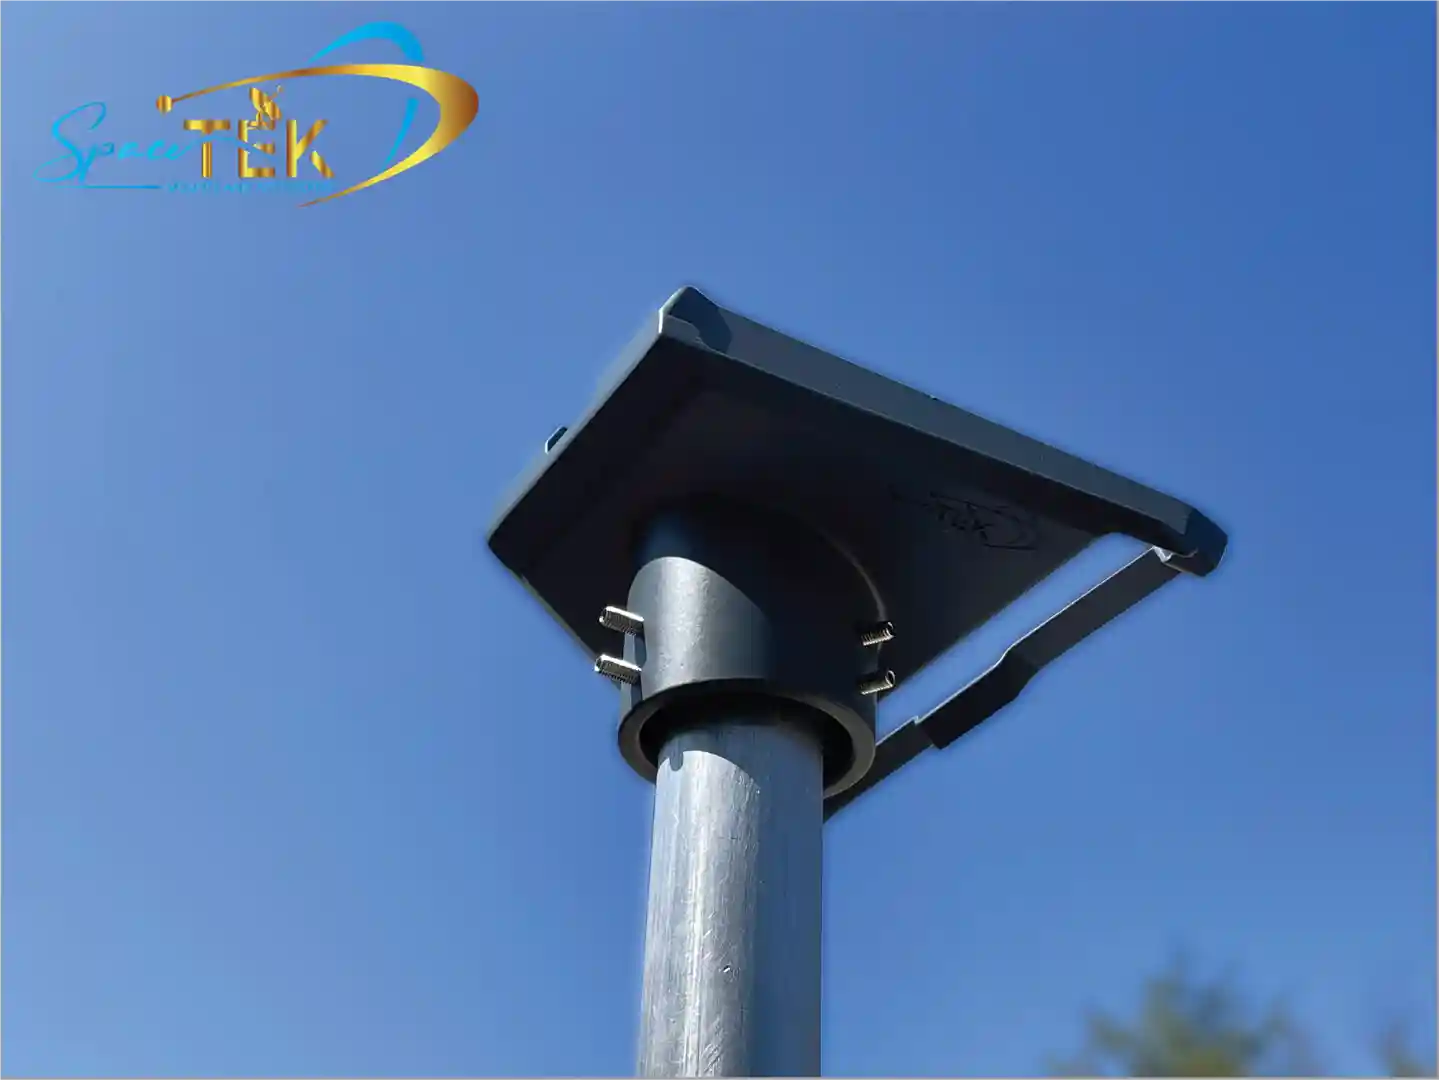
- Pole Mounts: Excellent for rural properties with tall tree lines. You can use a tall mast or a ground-set steel pipe in concrete to clear obstacles.
When planning a pole mount, wind load scales with height squared. A tall pole experiences significantly more wind force than a shorter one, meaning it requires robust base anchoring to remain stable in a storm. For more detailed advice on choosing the perfect hardware, refer to our Starlink Mounts Buying Guide 2026.
Step 3: Secure the Dish Mount and Position the Dish
With your mount selected, it is time for physical installation. If you are mounting to wood, ensure your mounting screws go directly into structural beams or rafters, not just the thin roof sheeting or fascia.
Our SpaceTek Starlink mounts are precision-machined and folded from high-grade aluminium or reinforced composite materials — never cheap 3D-printed plastic. This structural integrity is critical for surviving harsh Australian storms and high winds.
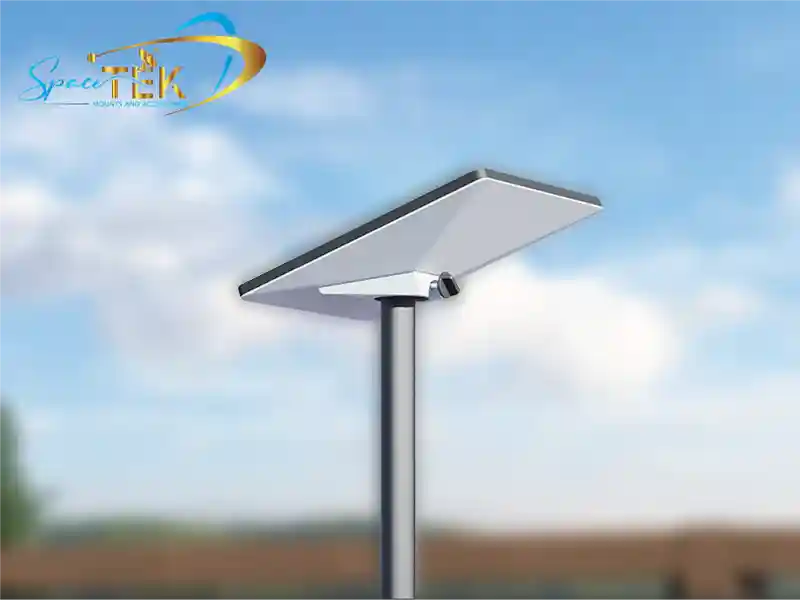
Secure the mount firmly, checking that it is as close to vertical as possible. Slide the Starlink dish into the mount until the locking mechanism clicks into place. The Gen 3 dish does not have motors; instead, you will use the alignment tool in the Starlink app to manually angle the dish in the right direction during setup.
Step 4: Route and Weatherproof the Cable
Cable routing is where many DIY projects go wrong. The Starlink cable is rugged, but it can still be damaged by sharp bends, pinches, or friction.
- Use Drip Loops: Always leave a small, U-shaped loop in the cable just before it enters your home or caravan. Water running down the cable will pool at the bottom of the loop and drip off, rather than following the cable straight into your wall. Proper drip loops prevent the vast majority of moisture-ingress warranty claims.
- Protect the Cable: Use UV-resistant conduit for any exposed outdoor runs to shield the cable from the harsh Australian sun. Secure the cable regularly with outdoor cable clips.
- Drill Smart: When drilling through an exterior wall, always drill at a slight downward angle from the inside out. This prevents rainwater from running down the hole. Use a plastic wall bushing to protect the cable from sharp edges, and seal the entry point thoroughly with high-quality outdoor sealant to keep out moisture and pests.
For more technical details on routing cables safely, you can read the Starlink Installation Guide 2026: DIY vs Pro Costs.
Step 5: Connect the Hardware and Power Up
Now that the cable is safely routed inside, plug it into the back of your Gen 3 router. Ensure the plug is pushed in fully so that it is completely flush with the socket.
Plug the power supply into a wall outlet. The Gen 3 system runs on direct current and pulls moderate power during normal operation, though power draw can increase when the built-in heating element activates (a feature you can disable in the app to save power if you live in warmer climates).
Once powered on, the router's light will begin pulsing white as it boots up. The dish will start communicating with the satellite constellation overhead. This initial boot and satellite search can take up to 20 minutes.
Step 6: Configure and Customise via the App
Open the Starlink app on your phone. You should see a prompt to connect to the temporary "STARLINK" Wi-Fi network. Once connected, the app will guide you to set a custom Wi-Fi network name (SSID) and a secure password.
If your dish is not perfectly aligned, the app will display an alignment tool. Simply follow the on-screen compass prompts to rotate the dish until the app confirms it is pointing in the optimal direction.
It can take up to 12 hours for the system to map the surrounding sky completely and deliver peak, stable performance. For additional setup support, the How to Set Up Starlink: Step-by-Step Guide [2026] offers great troubleshooting tips.
Powering Your Setup: Direct DC Power vs AC Inverters

If you are setting up Starlink for a caravan, 4WD, or off-grid property, running the system through a traditional AC inverter is highly inefficient. Inverters convert your battery's DC power to AC, only for the Starlink power brick to convert it back to DC again. This double conversion wastes valuable energy.
To solve this, we designed the SpaceTek StarPower V2 and V3 DC power supplies. These units allow you to power your Starlink directly from a 12V or 24V battery system, offering significant DC-to-DC efficiency advantages over AC inverters.
Using a direct DC-to-DC power setup with our StarPower V2 and V3 units offers major advantages:
- Higher Efficiency: Eliminating inverter standby power draw saves a substantial portion of battery capacity, allowing you to run your system much longer off-grid.
- Stable Power: Inadequate power setups can cause a high rate of failure in mobile installations due to voltage drops. Our StarPower V2 and V3 units boost and stabilise the voltage to the exact level that the Gen 3 dish requires.
- Custom Networking: Direct DC setups allow you to bypass the power-hungry Starlink router entirely, letting you run your own highly efficient 12V travel router.
Grounding and Protecting Your Starlink from Lightning
Because your Starlink dish is mounted high on your roof or on a metal mast, it acts as a potential path for static electricity and lightning strikes. Proper grounding is essential to protect your expensive hardware and your home.
Even if you are doing a DIY install, following basic electrical safety guidelines is highly recommended. Install a high-quality coaxial or ethernet surge protector rated for passive PoE (Power over Ethernet) at the cable's entry point to your home.
Connect this surge protector to your home's main grounding system or drive a dedicated 8-foot copper-clad ground rod into the earth near the cable entry. This simple step can save your equipment from being fried during summer storms and ensures your home insurance remains compliant.
Going Mobile: Starlink Mini and RV Mounting Options
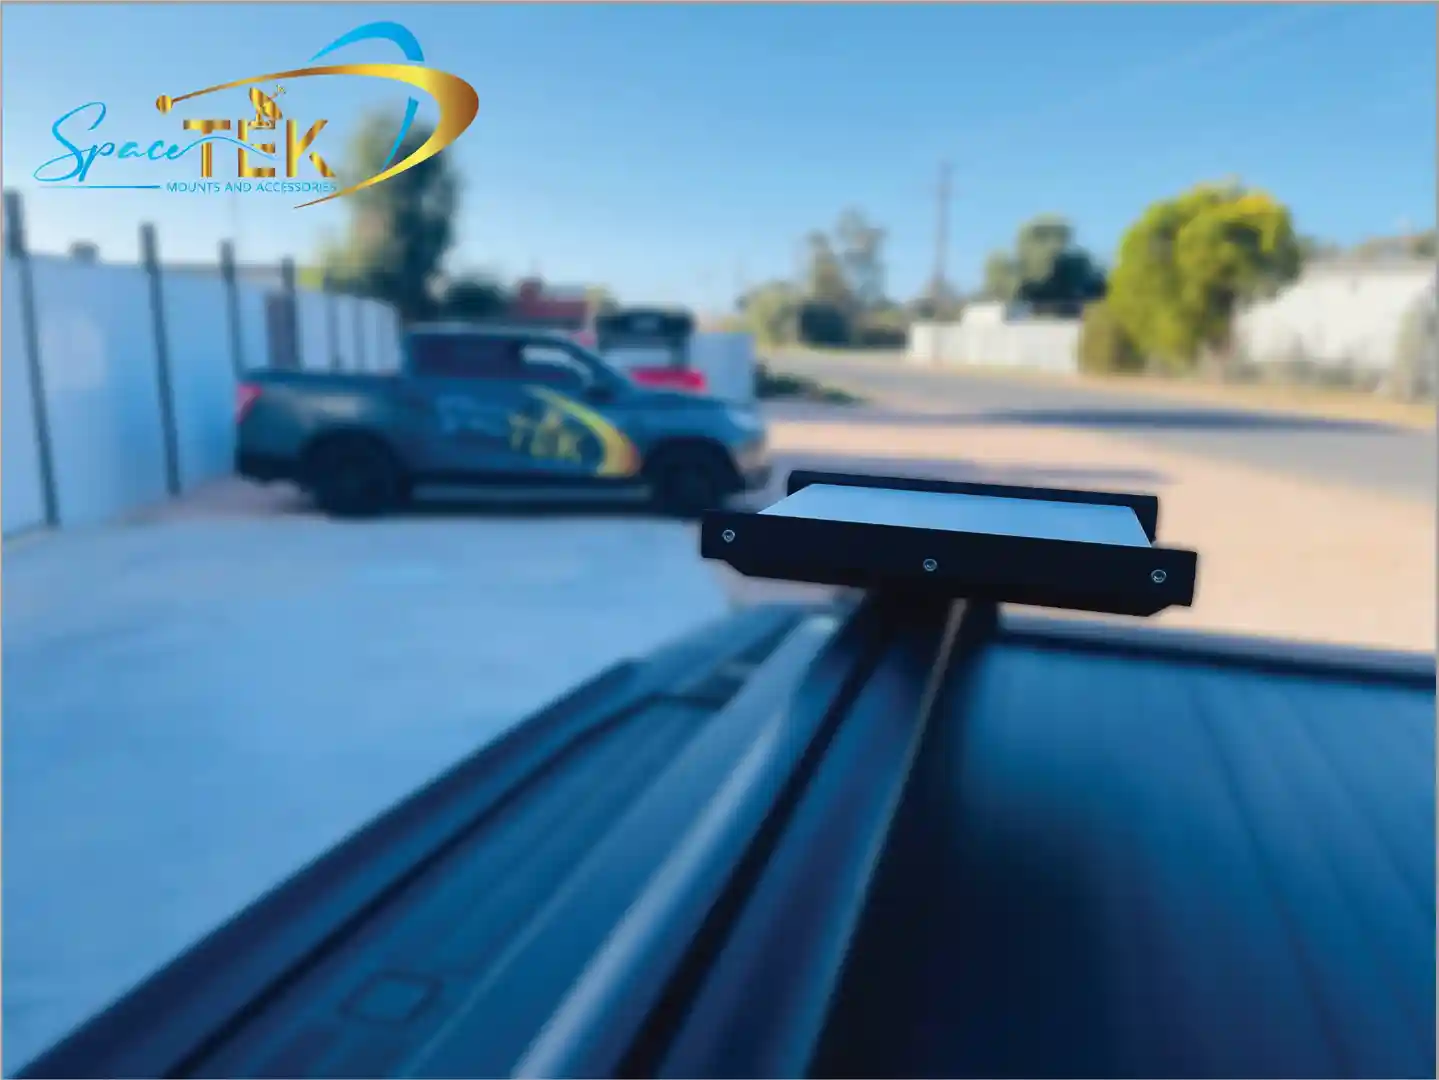
The Starlink Mini has revolutionized mobile internet for campers, grey nomads, and off-grid adventurers. Because of its small size and built-in Wi-Fi, it is incredibly easy to pack up and take on the road.
However, leaving your Mini on the ground at a campsite invites dirt, water, and accidental damage. We have developed premium, Australian-made mounting options specifically for the Mini:
- Mobility Mounts: These let you mount the Mini flat on your 4WD's roof rack or caravan roof for in-motion use.
- Suction Mounts: Heavy-duty industrial suction cups allow you to temporarily mount the dish to the side of your vehicle or window in seconds.
- DC-DC Boosters: Compact power accessories that let you run the Mini directly from a standard 12V auxiliary outlet or power station.
For a deeper look at these mobile setups, check out our guide on how to Mount Up Exploring the Best Starlink Mini Mounting Options.
DIY vs. Professional Installation: When to Call a Pro
While many owners successfully take the DIY route, a significant portion end up hiring a professional installer. It is important to know your limits before you start.
Consider hiring a professional if:
- You have a multi-storey home: DIY roof installations carry a risk of injury from ladder falls. If your roof is steep, high, or difficult to access, safety should always come first.
- You have complex routing needs: Running cables through internal wall cavities, finished ceilings, or under concrete paths can be highly challenging without specialist tools.
- You need an extremely tall mast: As mentioned, tall masts require heavy-duty anchoring and guy-wiring to withstand wind loads.
A professional installation can significantly reduce weather-related dropouts simply because they have the experience to optimise placement and secure everything perfectly. If you want to compare the pros and cons further, the How to Install Starlink: A 2026 DIY Guide for Home & RV offers great insights into the decision-making process.
Frequently Asked Questions About DIY Starlink Installation
Can I install Starlink myself on a metal roof?
Yes. Installing Starlink on a tin or colorbond roof is highly common in Australia. You should use a high-quality tin roof mount designed to align with the ribs of your metal sheeting. Always use premium neoprene washers on your mounting screws to prevent rust and leaks, and apply heavy-duty sealant over the screws for complete weatherproofing. For tiled or complex roofs, you can also refer to the official Starlink Flashing Mount Kit Guide.
How long does the initial Starlink setup and activation take?
The physical assembly and basic connection take only about 30 to 60 minutes. Once powered on, the dish will take about 15 to 20 minutes to find the satellites and get you online. However, keep in mind that the system needs up to 12 hours of continuous operation to fully map the sky, identify obstructions, and optimize your speeds.
What should I do if my Starlink won't go online after setup?
First, check the Starlink app for any active alerts. Ensure all cable connections are seated completely flush in both the dish and the router. If you still have no connection, perform a power cycle by unplugging the power supply for 30 seconds and plugging it back in. If the app displays an obstruction warning, you may need to relocate your dish to a higher point. For detailed wall mounting specifications, you can also view the Starlink Performance Wall Mount Guide.
Conclusion
Learning how to install Starlink yourself is a highly rewarding project that can save you money and get your property connected to high-speed internet in just a few hours. By taking the time to run a proper site survey, choosing a durable mount, and routing your cables with care, you will enjoy a fast, reliable connection for years to come.
At SpaceTek Australia, we design and manufacture premium, rust-resistant Starlink mounts and direct DC power solutions built specifically to withstand the harshest Australian conditions. Whether you are setting up a permanent system on a remote homestead or hitting the road with a Starlink Mini, we have the gear to keep you connected.
Ready to find the perfect mounting setup? Explore our Starlink Mounts Complete Guide or Contact Us today to chat with our local team about your off-grid power and mounting needs.

Leave a comment
This site is protected by hCaptcha and the hCaptcha Privacy Policy and Terms of Service apply.