
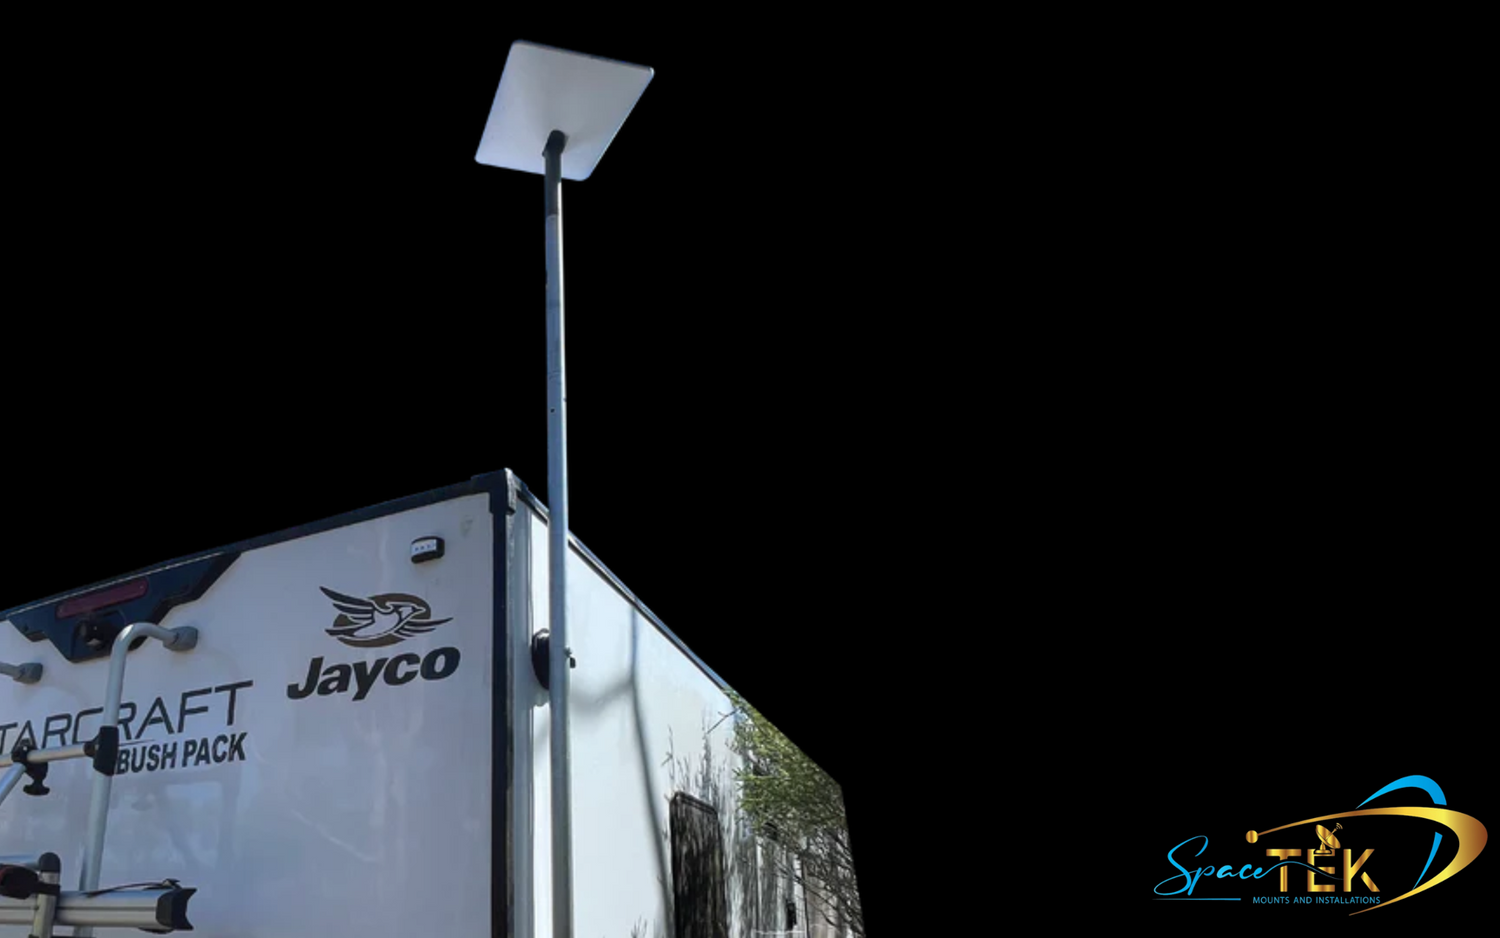
Can you install Starlink on an apartment balcony?
A Starlink balcony mount can be useful where roof access is unavailable, but a balcony is not automatically a suitable installation location. The dish needs a usable sky view, the mounting arrangement must suit the structure and equipment, and the installation must meet the building's requirements.
This October 2026 guide helps you assess those points before buying a mount. It is a planning checklist rather than a universal railing-clamp installation procedure: a product that fits one railing or Starlink model may not suit another.
Start with three questions:
- Does the Starlink app identify a clear field of view from the proposed dish position?
- Can the exact dish and mount be supported safely by an appropriate part of the structure?
- Have you confirmed permission, cable routing and access for future maintenance?
If any answer is uncertain, resolve it before attaching equipment. An exposed position beyond a railing is not made suitable just because it provides a better view of the sky.
Check the sky view before choosing a mount
Use the Starlink app's Check for Obstructions tool from a safely accessible position representative of the intended installation. Choose the correct equipment when prompted and assess the result before ordering accessories.
Nearby walls, an upstairs balcony, roof overhangs, trees and neighbouring buildings can restrict the dish's view. Being outdoors or on a high floor does not by itself establish suitability. A photograph showing open sky in one direction is also not a substitute for the app's assessment.
Do not lean over a railing or climb onto balcony furniture to perform a scan. If the proposed location cannot be assessed or reached safely, arrange professional assistance. Starlink's obstruction guidance advises against proceeding where installation or obstruction removal cannot be done safely.
If the location is obstructed, consider another permitted position. Moving the dish a short distance may or may not help; repeat the assessment rather than assuming a particular compass direction or railing position solves the problem. Where the building blocks the necessary view, a different installation location or internet connection may be more practical.
Confirm the structure, equipment and permissions
Identify the exact Starlink kit
Check the terminal model and use the matching official setup guide. Dish fittings and alignment procedures vary between kits. A mount described only as "for Starlink" is not enough evidence of compatibility.
Match the mount to an approved attachment point
Ask the mount supplier or installer to confirm the proposed combination: terminal model, mount, railing or other supporting structure, and exposure. Railing shape, material and dimensions are relevant, but physical fit alone does not prove the assembly can safely support the equipment.
Do not assume a clamp is suitable for glass panels, decorative rails or every apartment balcony. Avoid improvising extra brackets or treating a tether as a substitute for an appropriately designed installation. Follow the exact mount's instructions for hardware, installation and inspection.
Check building requirements before work starts
Confirm the proposed installation with the relevant landlord, owner or building management where applicable. Include the mounting position, any penetrations, cable route and how equipment will be accessed or removed. A non-penetrating mount is not automatically permitted.
Requirements depend on the property and proposed work. This guide does not establish a planning exemption or approval for a particular building. An installer can help identify the information needed for the proposed installation.
Plan installation, cable routing and the first checks
Prepare the entire route before choosing cable length. Consider how the connection reaches indoor equipment without being trapped in a closing door, stretched across a walkway or left hanging over the balcony edge. Confirm any entry point and sealing method with the installer and use cable guidance for the specific kit.
Follow the mount and terminal instructions together. Do not copy a tightening value, clamp arrangement or drilling procedure from a different product. If installation requires working beyond the protected balcony area, stop and arrange appropriately equipped professional help.
Once the equipment is installed:
- Complete activation and connection using the guide for the kit.
- Follow any alignment prompts for that model in the Starlink app.
- Review app alerts and obstruction information after the system has been operating.
- Test the connection where it will actually be used indoors.
- Record the equipment models and retain the installation instructions for later checks.
A single successful speed test does not show how the connection will behave throughout the day. If interruptions continue, distinguish reported dish obstructions from weak indoor WiFi. Repositioning the indoor router cannot remove a building from the dish's sky view.
Do not loosen or move a mounted dish while trying different positions without following the installation instructions and maintaining safe access. Reassess the location first, then plan any change.
Keep the installation accessible and inspectable
Follow the equipment supplier's care and inspection guidance. If you notice movement, visible damage, corrosion or a trapped cable, arrange assessment rather than assuming the installation remains safe. Do not inspect exposed equipment during hazardous weather.
A mount holds the dish in position; it does not guarantee uninterrupted satellite service, weather resistance beyond the product specification or coverage throughout the apartment. Keep those separate when deciding whether the setup meets your needs.
What should you send when asking for advice?
For help selecting SpaceTek accessories, contact the team with:
- Your Starlink terminal model.
- The proposed attachment point and its dimensions and material.
- Photographs taken safely from within the balcony.
- The app's obstruction assessment and the intended cable route.
- Any installation conditions provided by the building's management.
Avoid including neighbours, personal documents or unnecessary identifying details in photographs. The purpose is to assess the equipment and installation, not to share private information.
Confirm product suitability and the installation arrangement before purchasing. If the balcony cannot provide both a usable sky view and a safe, permitted mounting position, do not force the installation.

Leave a comment
This site is protected by hCaptcha and the hCaptcha Privacy Policy and Terms of Service apply.