
If your Starlink app says No Signal Received, start with the simple stuff: do a proper 20-minute power cycle, reseat the dish cable at both ends, then check the app for obstructions or outages. In most cases, Starlink no signal troubleshooting comes down to power, cabling, sky visibility, or a temporary network issue.
Key Takeaways
- Start with a full 20-minute power cycle before pulling the setup apart.
- Reseat the dish cable firmly at both the dish and router ends, checking for moisture, dust, tight bends, or damage.
- Use the Starlink app to check status, obstructions, alignment, and service messages.
- If you are travelling, camping, or running Starlink off-grid in Australia, stable mounting and efficient DC-to-DC power help prevent repeat dropouts.
- Keep the dish clear of trees, rooflines, caravan gear, and anything else that blocks its view of the sky.
Unlike standard fixed-wireless connections that point at a tower, Starlink relies on low Earth orbit satellites moving across the sky. Your dish constantly tracks and hands off between satellites, so if that communication chain is interrupted, the service can drop offline.
What Is the Difference Between No Signal, Searching, Obstructed and Offline?
The wording in the Starlink app matters because each status points you in a slightly different direction:
- No Signal Received: The dish has power and is trying to connect, but it cannot lock onto satellite signals. This can point to cable issues, power interruptions, software update glitches, heavy weather, or temporary coverage gaps.
- Searching: The dish is scanning the sky to find a connection. You will normally see this during start-up, after a reboot, or after moving your setup.
- Obstructed: The dish can see satellites, but something is blocking part of its view. Even a small obstruction can cause repeated short dropouts.
- Offline: The app cannot communicate with the router or dish. This usually means a power issue, an unplugged cable, or a loose router connection.
To keep your dish operating smoothly, review our guide on 3 things you should not do to your Starlink dish.
What Usually Causes a Starlink No Signal Error?
When working through Starlink no signal troubleshooting, start with the most likely causes first:
- Loose cable or connector: A slightly unseated proprietary cable plug at the dish or router end is one of the most common causes of sudden signal loss.
- Temporary satellite coverage gaps: Brief gaps can still happen, especially in remote regional areas.
- Power or memory glitches: The system can occasionally freeze during overnight updates and need a full discharge.
- Severe rain fade or wild weather: Heavy downpours can scatter satellite radio signals before they reach the dish face.
- Physical cable damage: Cockatoos, rodents, tight bends, sharp edges, or mower damage can break or weaken outdoor cable runs.
How Do You Troubleshoot Starlink No Signal Step by Step?
If your dish stops passing internet, work through this simple three-step flow before assuming the hardware has failed.
Step 1: Do a Full Power Cycle
A quick 30-second unplug might work for a normal Wi-Fi router, but a Starlink dish often needs longer to fully reset.
- Unplug the main Starlink router power cable from the wall outlet, or turn off your DC power supply switch.
- Leave the whole system completely unpowered for 20 minutes so the dish can discharge properly.
- Plug the power cable directly back into the wall socket, avoiding loose extension leads or cheap power boards.
- Allow 15 to 20 minutes for the dish to boot, run self-checks, recalibrate, and reconnect to the satellite network.
A proper power cycle clears many temporary Starlink no signal problems without needing any tools.
Step 2: Check and Reseat the Cables
Physical connection issues are a major cause of dish offline and no signal errors.
- Inspect the dish cable along its full length for crushing, pinch points, sharp bends, or damage.
- Check exposed outdoor cable runs for cockatoo, rodent, weather, or mower damage.
- Unplug the dish cable from both the router base and the dish stem.
- Clear dust, dirt, or moisture from the ports using dry compressed air.
- Reinsert the connectors firmly until they sit flush and feel properly seated.
For more hardware checks, read this Starlink troubleshooting guide.
Step 3: Use the Starlink App Diagnostics
Once the system has power and the cables are seated, use the Starlink app to see what the dish is reporting.
- Connect your phone to your Starlink Wi-Fi network and open the app.
- Check the main status banner on the home screen.
- Open Statistics to review latency, ping dropouts, and speed behaviour.
- Open Obstructions and run Scan Environment, following the phone camera prompts to sweep the sky.
Your dish needs a clear view of open sky, without trees, roof edges, poles, awnings, caravan gear, or nearby structures cutting across its field of view.
If the app shows the dish is poorly positioned, read our guide on how to align a Starlink dish.
What Advanced Resets Can Help When Starlink Still Has No Signal?
If the basic checks do not fix the issue, try these next-level reset options:
- Stow and unstow command: In the app, go to Settings, tap Starlink, and select Stow. Wait two minutes, then select Unstow to help the dish re-index its position.
- Router factory reset: On Gen 2 rectangular router systems, unplug and reconnect the power cable six times quickly. On Gen 3 and Mini setups, use the physical reset button with a paperclip.
- Bypass Mode check: If you use a custom home or touring network, make sure Bypass Mode has not been enabled without a working third-party router connected.
Is It Your Setup or a Wider Starlink Outage?
Before moving mounts, cables, or power gear, work out whether the issue is happening only at your place or across the wider Starlink network.
What Do the Starlink Router Lights Mean?
The small LED light on your Starlink router can give you a quick clue about what is going on:
- No light: The router has no power. Check the wall socket, circuit breaker, or DC-to-DC power setup.
- Blinking white: The router is starting up, initialising, or downloading an automated firmware update.
- Solid white: The system is connected and passing data.
- Solid red: The router has power, but it has not received an internet signal from the dish after a long scanning period.
- Solid violet or purple: The router is in Bypass Mode and is waiting for a third-party gateway or custom router to manage traffic.
Keep the router in an elevated, ventilated spot with room around it. Closed cupboards, direct sun, and poorly ventilated caravan storage spaces can all make heat-related shutdowns more likely.
How Can You Check for a Wider Starlink Outage?
If the cabling looks right but every connected device is offline, check whether the issue is bigger than your setup.
- Turn Wi-Fi off on your phone and use mobile data to check a third-party outage monitor.
- Open the Starlink app home screen and look for network status messages.
- Check local community groups or forums to see whether nearby users are reporting the same issue.
- If a wider outage is likely, leave the system powered on and avoid repeated rebooting.
If your local hardware still looks faulty after all checks, open a Starlink support ticket through the app. Add screenshots of the app status, speed tests, obstruction map, cable connections, mount setup, and router lights.
How Do Better Mounts and Cable Management Prevent Dropouts?

A common cause of repeat Starlink no signal headaches is movement. If wind makes the dish stem wobble or twist, the narrow signal beam can lose its lock with satellites overhead.
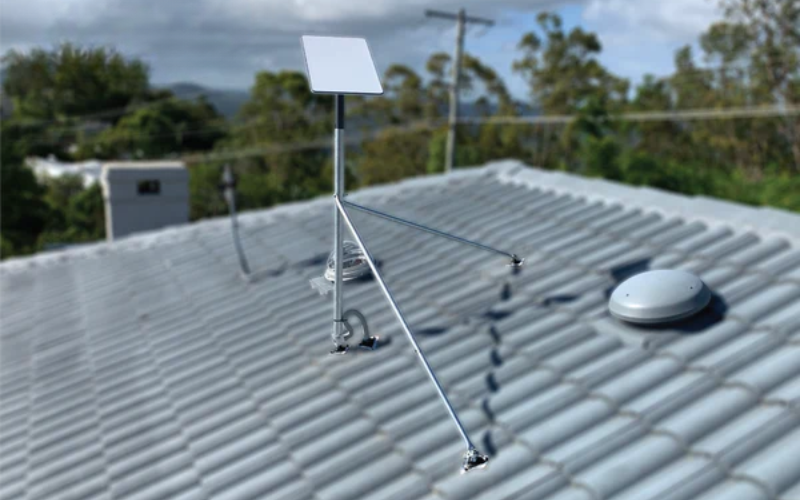
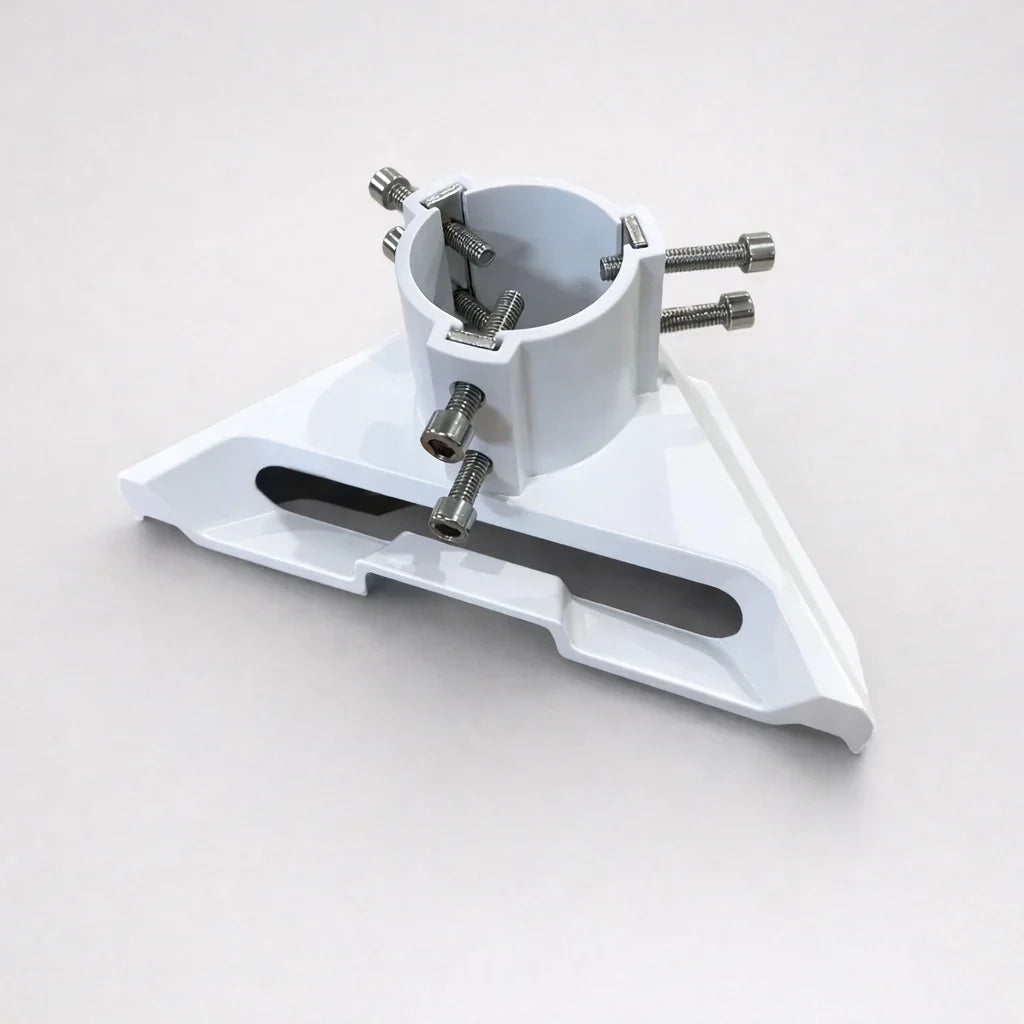
Standard or generic dish mounts can struggle with high wind, coastal salt air, intense UV, and rough touring conditions. A purpose-built, rust-resistant Starlink mount helps keep the dish steady so it can maintain a cleaner view of the sky.
For home installs, review our Starlink ridgeline roof mount guide to plan a secure setup. You can also browse SpaceTek Starlink mounts and accessories designed for Australian conditions.
For caravans, 4WDs, camping, and off-grid setups, StarPower V2, V3, and V4 DC power supplies can be a better fit than running through an AC inverter because they improve efficiency, reduce battery draw, and support custom router setups where you want to bypass the standard Starlink router.
- Better DC-to-DC efficiency: StarPower supplies convert battery power directly for the Starlink setup instead of adding inverter losses.
- Lower battery draw: A leaner power path helps protect auxiliary battery capacity during long stays off-grid.
- Custom network support: DC power setups can support third-party routers for streamlined touring and remote work setups.
Protecting outdoor cables with UV-rated conduit and securing the dish with precision-machined, rust-resistant folded aluminium dish mounts helps your connection stay more stable through heat, wind, dust, rain, and long-distance travel.
Frequently Asked Questions
How Long Should I Wait for Starlink to Reacquire a Signal After Rebooting?
After a full system power cycle or software reboot, allow 15 to 20 minutes for the dish to establish satellite tracking. During that time, the dish checks its location, scans the sky, downloads satellite scheduling data, and reconnects. Avoid repeatedly rebooting during this window because each restart begins the scan again.
Can Rain or Extreme Heat Cause a No Signal Received Error?
Yes. Heavy rain can cause rain fade, where dense water droplets weaken satellite signals. The issue usually clears as the weather passes. Extreme Australian heat can also contribute to heat-related shutdowns, especially if the router is in direct sun or a poorly ventilated space. In cold alpine areas, use Snow Melt mode on Auto to help stop snow and ice building up on the dish face.
How Do I Contact Starlink Support if Basic Troubleshooting Fails?
If you have power cycled the system, checked all cables, confirmed a clear sky view, and ruled out a wider outage, submit a support ticket through the Starlink app.
- Open the app and tap Support.
- Choose the category that matches your issue, such as Dish Issues or No Signal.
- Tap the thumbs-down icon next to Did this answer your question? to open the ticket form.
- Attach screenshots of Statistics, the Obstruction Map, and photos of your dish mount, cable connections, and router lights.
Keep Your Starlink Signal Stable for the Long Run
Fixing a Starlink no signal error is usually about working through the basics in order: power cycle the system, reseat the dish cable, check the app, scan for obstructions, and rule out a wider outage. That approach saves you from replacing gear or moving the dish before you know what is actually wrong.
For long-term reliability, focus on a steady installation and clean cable routing. A rust-resistant Starlink mount, protected cabling, and efficient StarPower DC power setup can help keep your connection more dependable across Australian homes, caravans, 4WDs, farms, and remote worksites.

Leave a comment
This site is protected by hCaptcha and the hCaptcha Privacy Policy and Terms of Service apply.