A Game-Changer for Mobile Starlink Setups
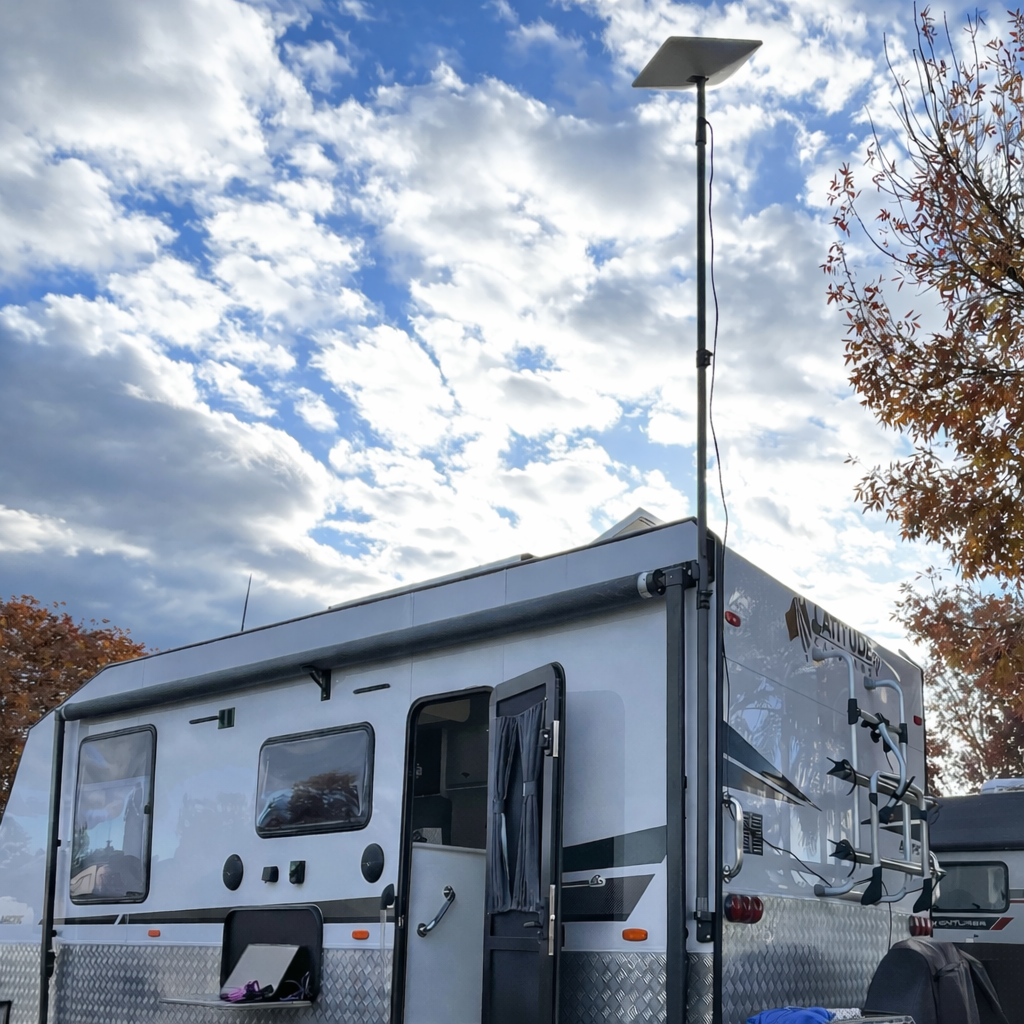
The Starlink Gen 3 (V4) IP68 Waterproof Bulkhead RJ45 Socket Connector is a genuine game-changer for Australian travellers, van-lifers, and remote workers. Its purpose is simple and essential: let you extend your Starlink connection to the outside of your caravan or RV while maintaining a dependable, weatherproof seal. That means you can set up faster, keep doors and windows closed, and protect your investment from dust, rain, salt spray, and road grime.
In real-world touring, small details make a big difference. A purpose-built bulkhead connector turns a temporary setup into a professional, permanent pass-through point. The result is a neater install, less hassle at every stop, and far less risk of moisture or dust sneaking into your vehicle. With the connector mounted to your van’s side-door area or skirt panel, you simply plug in your Starlink cable outside, then use a short internal lead to your router inside. No dangling cords through windows, no makeshift grommets, and no compromises to your weather seals.
What does IP68 mean for you on the road?
- Dust-tight protection that helps keep out fine red dirt, beach sand, and bush track grit.
- Water protection suited to heavy rain, washdowns, and splash exposure commonly encountered on Australia’s coasts and in the tropics.
- A robust, travel-ready connection that stands up to heat, UV, and vibration typical of outback driving and long highway runs.
Whether you’re weekending on the coast or crossing the country, this connector helps make your mobile broadband as reliable as your rig.
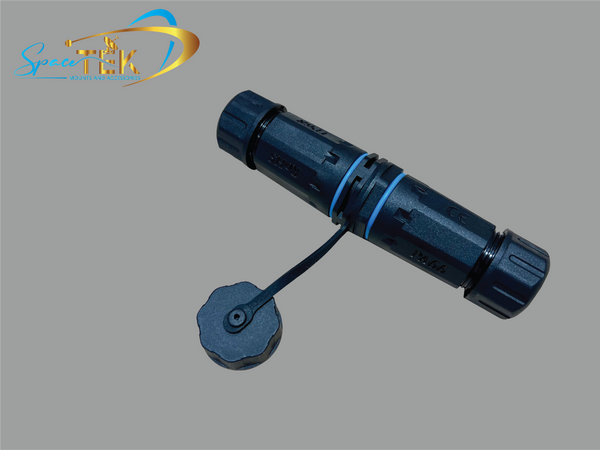
Featured Product: Gen 3 Waterproof Bulkhead RJ45 Socket Connector
Designed specifically for caravan and RV side-door access, our Starlink Gen 3 IP68 Waterproof Bulkhead RJ45 Socket Connector lets you extend your Starlink connection outside your vehicle while maintaining a crucial IP68 waterproof rating.

The biggest advantage is the easy installation with no cable modifications needed. Unlike older setups that required cutting and re-terminating cables, this Gen 3 version is a simple plug-and-play solution. You just remove the waterproof cap from your Gen 3 Starlink cable and connect it to the exterior socket. This keeps your Starlink cable intact and your warranty valid.
From the back of the socket, you can use any of our high-quality shielded cables to complete the internal router connection, keeping everything neat, secure, and weatherproof.
Easy installation that suits DIY
If you can drill a clean hole and tighten a lock ring, you can fit this. A typical install looks like this:
- Choose a convenient side-door, skirt panel, or service hatch area that keeps the outside plug easy to reach and the inside run short and tidy.
- Mark and drill the hole to suit the bulkhead body, then deburr and clean the area.
- Insert the connector from the outside with the supplied seal, align it neatly, and secure it from the inside with the lock ring.
- Outside the van, remove the waterproof cap from your Starlink Gen 3 cable and click it into the bulkhead socket.
- Inside, patch from the rear of the bulkhead to your Starlink router using a short, shielded RJ45 cable. Job done.
Because there is no cutting, splicing, or re-terminating of the Starlink cable, you get a neater, faster setup that respects the original hardware design.
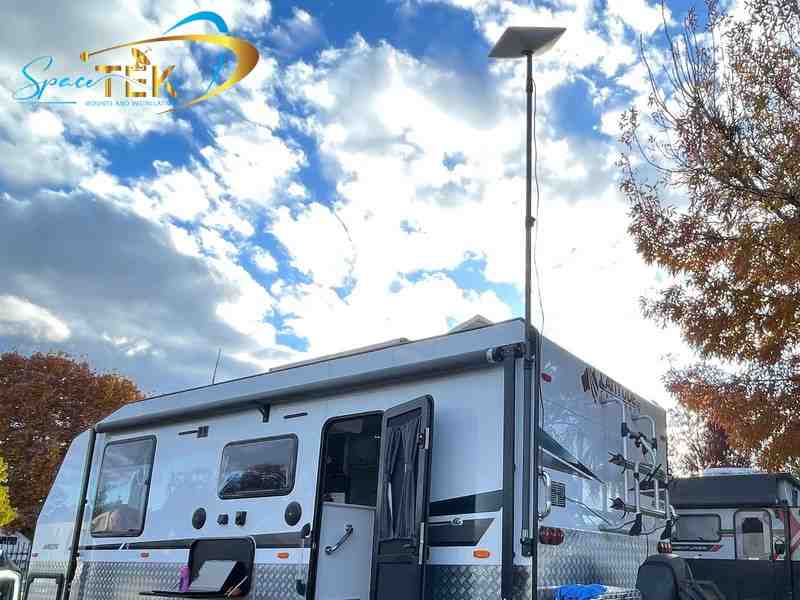
Built for Australian conditions
Road spray, corrugations, humidity, salt air, and summer heat all test your gear. The IP68-rated design helps protect the connection from dust ingress and water exposure so you can camp with confidence from Victoria’s high country to the Pilbara. The pass-through design also helps reduce wear and tear on your Starlink lead because you’re no longer jamming a cable through a door or window seal.
Performance you can trust
A consistent, well-shielded patch from the bulkhead to your router helps maintain signal integrity. The result is a reliable, repeatable connection each time you set up camp. It’s the practical way to get your Dishy online quickly without compromising the vehicle’s weather sealing or the Starlink cable integrity.
See It in Action
Sometimes seeing how something goes together makes all the difference. We've put together a video demonstration that shows a very similar assembly process step by step, giving you a clear installation overview for your DIY setup.
Video guide on a similar assembly process
Use the video to get a feel for panel mounting, how a bulkhead seats against the outside skin, and how to tidy the internal patch lead to your router. The exact steps for the Gen 3 connector are simple and closely match the process shown: pick a good position, drill carefully, fit the seal and lock ring, then click in your cables. Before hitting the road, give the exterior socket a quick visual check, replace the dust cap when not in use, and confirm you’ve got a solid link inside the van.
Note: This video does not depict the Gen 3 version, but the assembly process is very similar and gives you an excellent overview of what to expect.
Why Choose SpaceTek Mounting Kits?
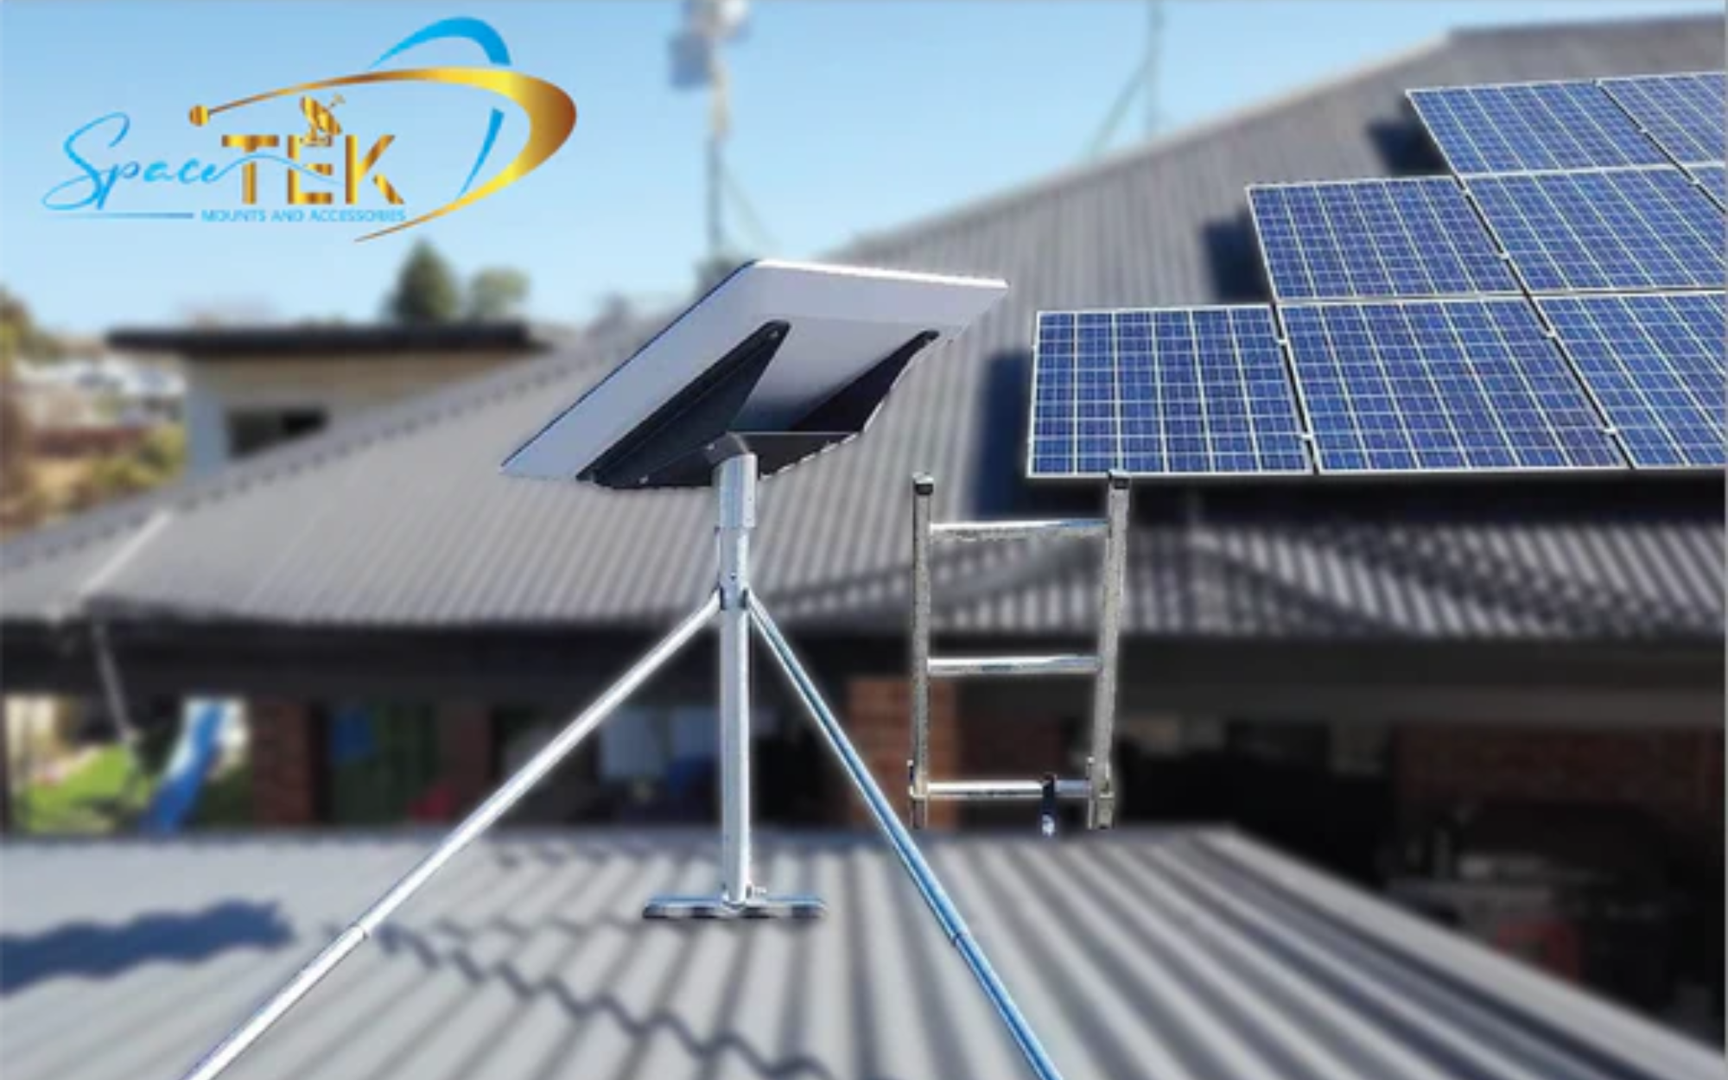
At SpaceTek’s Starlink Shop, we offer a full range of mounts, adapters, and accessories designed to maximise your Starlink performance. Our products are built to withstand extreme temperatures and weather conditions, protecting your Starlink Dishy from thermal shutdowns or damage during storms, heatwaves, or gale-force winds. We offer a comprehensive range: whether you want to fine-tune your setup or make it more robust for travel, we have the mounts and adapters to suit your needs.
SpaceTek Australia focuses on solutions that make sense for local touring. From rust-resistant mounts that handle coastal conditions to accessories compatible with Starlink’s self-installer kits, everything is engineered for reliability and ease of use on the move. If you’re planning a new fit-out or upgrading an existing rig, our team and range are here to help you get the most from your Dishy.
For more background on choosing the right add-ons for your setup, see our guide: Starlink Accessories: How to Get Everything You Need
Maximise Your Mobile Starlink Experience
Having a proper, professional-grade setup brings peace of mind. There's nothing quite like pulling into a stunning campsite and knowing you'll have uninterrupted broadband within minutes. No fussing with dodgy connections or worrying about whether your gear will survive the next storm—just reliable internet wherever your adventures take you.
With the Gen 3 IP68 Waterproof Bulkhead RJ45 Socket Connector installed, you can:
- Keep your Starlink cable intact and your warranty in check.
- Maintain your van’s weather seals without wedging cables through a window or door.
- Set up and pack down faster, with a robust pass-through point you’ll use every trip.
- Pair it with SpaceTek’s rust-resistant mounts and adapters for a complete, travel-ready system.
Ready to take your mobile Starlink experience to the next level? Don't settle for makeshift solutions. Order your SpaceTek adapter or mount kit today and enjoy uninterrupted broadband wherever your caravan or RV takes you.
Leave a comment
This site is protected by hCaptcha and the hCaptcha Privacy Policy and Terms of Service apply.