
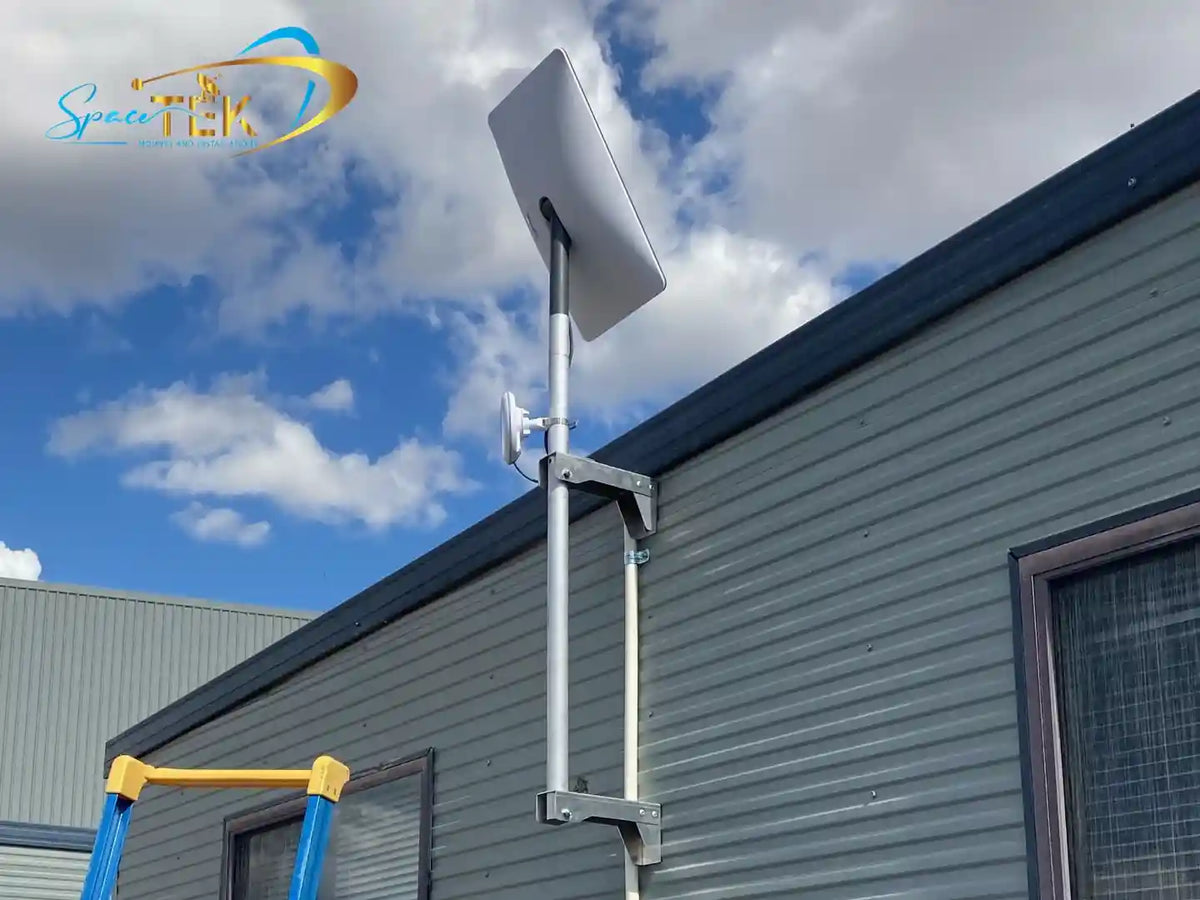
To run a Starlink cable into your house without drilling, use a pathway that already exists, such as a utility grommet, window pass-through, soffit vent, or subfloor entry. The trick is to protect the connector, avoid crushing the cable, and seal the entry neatly so rain, draughts, and pests stay outside.
Key Takeaways
- The safest drill-free routes are existing wall grommets, roof eaves, soffit vents, subfloor vents, and carefully cushioned window openings.
- The Starlink connector needs enough clearance to pass through without being forced, so never jam it through a tight gap.
- A drip loop outside the entry point helps water fall away before it can track along the cable into the house.
- Keep Starlink data cables separate from mains electrical wiring to avoid safety risks and signal issues.
- If you need a clean exterior finish, SpaceTek's Weather-Resistant Cable Access Bung Portal for Starlink Cable can help reseal a suitable existing entry point.
What Should You Check Before Running a Starlink Cable Indoors?
Before you start, have a quick look at the cable path from the dish to the router location. You want a smooth, protected route with no sharp bends, crushed sections, or spots where the connector has to be pulled hard through a tight opening.
The standard Starlink cable has a moulded connector head that needs about 19.05 mm, or 3/4 inch, of clearance to pass through cleanly. The cable itself can sit fairly flat, but the connector cannot be bent, squeezed, or dragged around hard corners without risking damage.
If the opening is too tight, stop and choose another path. Forcing the lead can damage the connector pins, pinch the internal wires, create dropouts, or weaken the cable over time.
It also pays to keep the Starlink lead away from mains wiring. The cable carries both data and Power-over-Ethernet, which means one lead handles internet signal and power to the dish. Running it beside active electrical wiring can create interference and may introduce safety risks.
For a neat finish, think about cable management before you pull anything through. Starlink’s own Cable Routing Guide also stresses careful routing, avoiding kinks, and keeping the cable clear of damaging pressure points.
Why Go Drill-Free in the First Place?
A no-drill cable entry is handy for renters, caravan owners, and anyone who wants to avoid cutting into cladding, brickwork, or external wall linings. It keeps the building envelope intact and makes the setup easier to reverse later.
For Australian homes, that matters. Poorly sealed wall penetrations can let in water, hot air, dust, insects, and draughts. Using an existing entry point gives you a cleaner result with less risk, provided the cable is protected and the opening is resealed properly.
How Can You Run a Starlink Cable Into a House Without Drilling?
The easiest way to run a Starlink cable into a house without drilling is to look for an existing pathway around the home. Think old coaxial entries, air-conditioning pipe chases, unused service grommets, roof eaves, soffit vents, subfloor vents, or a low-traffic window.
Before you begin, gather a few simple items:
- Nylon fish tape or draw wire to guide the cable through tight spaces
- Electrical or masking tape to protect the connector while pulling
- Removable duct seal, exterior-rated sealant, or pliable putty for weatherproofing
- Adhesive raceway or cable clips to keep the indoor run tidy
The best entry point depends on your home:
- Existing utility grommets work well when an old coaxial, antenna, solar, or air-conditioning entry already passes through the wall.
- Window pass-throughs suit renters and temporary setups when the sash can close gently against weatherstripping.
- Soffit and eave entries are useful when the dish is on the roof and you have safe access to the roof cavity.
- Subfloor or floor vent entries can suit raised homes, stumped homes, and some older Australian houses.
How Do You Use an Existing Utility Grommet?
Many homes already have service penetrations that can be reused without making a new hole. Walk around the outside of the house and look for old TV antenna entries, redundant coaxial cables, solar conduits, or split-system air-conditioning pipe chases.
- Find a suitable service entry where an existing cable, conduit, or pipe already enters the home.
- Carefully loosen the soft sealant or grommet with a blunt plastic tool so you do not damage any nearby lines.
- Wrap the Starlink connector with tape to keep dust and moisture away from the contact pins.
- Feed the fish tape from inside to outside, attach the protected connector, then pull it through slowly.
- Reseal the gap with a suitable gasket, duct seal, or exterior-rated sealant so the entry stays weatherproof.
Can You Run the Cable Through a Window or Door Opening?
Yes, but only if the cable is protected from being crushed. A standard Starlink lead should not be pinched directly in a rigid window sash or sliding door track.
For a safer window entry:
- Choose a low-traffic window close to the router and sheltered from heavy rain.
- Use a suitable flat pass-through jumper where your Starlink system and network setup support one.
- Add high-density foam weatherstripping so the sash closes gently against the cable path.
- Secure the indoor cable with adhesive raceway or clips to prevent trip hazards.
- Use a window lock or security bar so the window stays firm without clamping down on the cable.
Can You Route Starlink Through the Roof Eaves or Soffit?
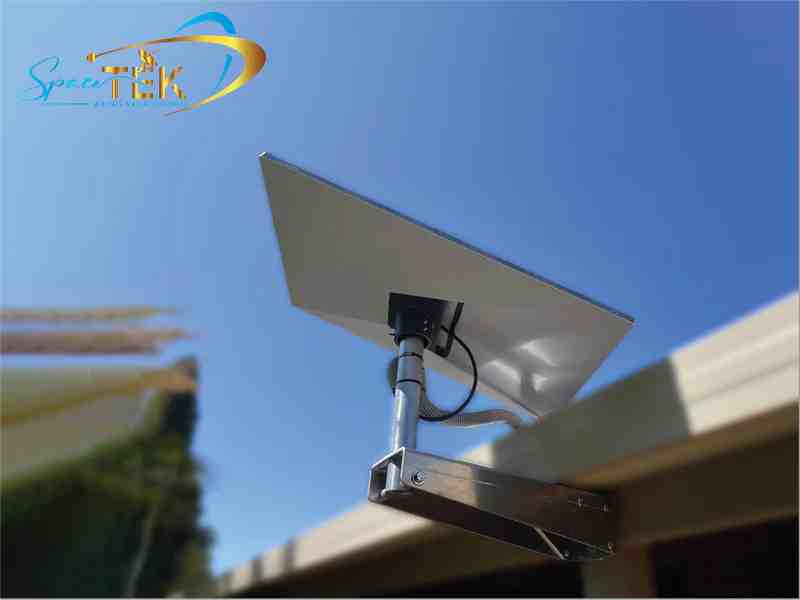
If the dish is installed on the roof, an eave or soffit entry can be one of the cleanest drill-free options. If you are also looking at ways to secure the dish without new holes, see our guide to No-Drill Starlink Roof Mounting.
Once the dish is safely positioned, use the existing eave space carefully:
- Look for soffit vents, sheet joins, or existing gaps under the eaves.
- Unclip or unscrew a vent panel if it can be removed without damage.
- Feed the cable into the roof cavity while protecting it from sharp sheet edges and roofing screws.
- Run the cable along ceiling joists, away from hot lights, exhaust flues, and mains wiring.
- Bring it down through an existing internal access point, such as an attic hatch or utility cupboard.
- Refit the vent and add mesh or sealant where needed to keep insects and possums out.
How Do You Weatherproof a Drill-Free Cable Entry?
Weatherproofing is the part you do not want to rush. Even if the cable slips through neatly, rain can still travel along the outside of the lead and find its way into the entry point.
How Do You Make a Drip Loop?
A drip loop is a simple downward curve in the cable just before it enters the house. The bottom of the loop should sit lower than the entry point so rain runs to the lowest part of the cable and drips off outside.
How Should You Seal and Secure the Cable?
Once the cable path is set, secure it so wind and movement do not tug on the entry point.
- Anchor the cable just before the drip loop with UV-stable exterior clips or removable exterior adhesive saddles.
- Seal around the cable with non-hardening duct seal, removable putty, or neutral-cure exterior sealant.
- Add split conduit or rubber sleeving anywhere the lead touches metal flashing, rough masonry, or sharp trim.
- Check the seal after heavy rain to make sure water is not tracking into the house.
What About Caravans, RVs, and Temporary Starlink Setups?

Caravans, RVs, and temporary work sites need a slightly different approach. You still want to avoid drilling, but the cable also has to handle movement, pack-downs, weather changes, and regular setup changes.
Good non-invasive options include:
- Battery compartment grommets where existing low-voltage wiring already enters the van body
- Slide-out seals on RVs, provided the cable is not crushed when the slide-out moves
- Storage locker pass-throughs with a soft rubber edge seal
- Existing floor or service hatches where the lead can be protected from abrasion
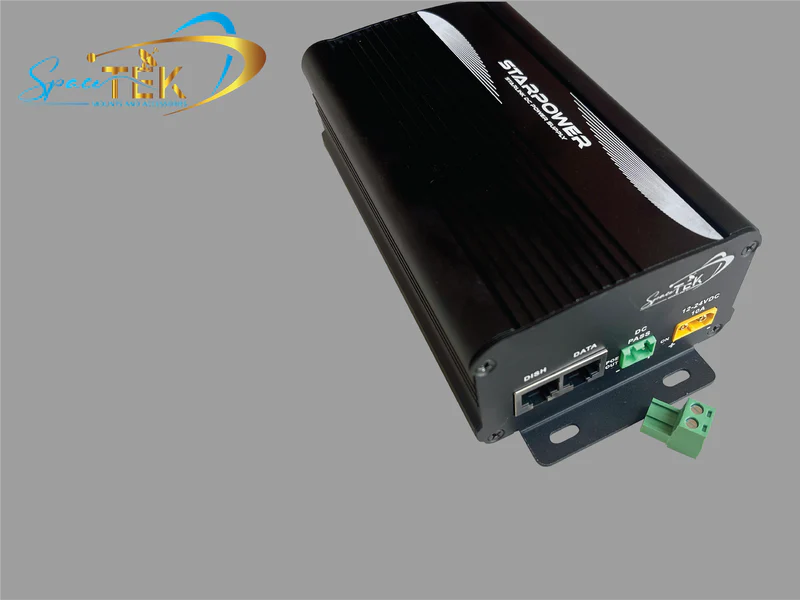
For mobile and off-grid setups, power efficiency matters too. SpaceTek StarPower V2 and V3 DC power supplies can be more efficient than running through a standard AC inverter, with lower draw and the flexibility to bypass the Starlink router for custom networking setups.
Frequently Asked Questions About Drill-Free Starlink Cable Routing
Can I Run a Starlink Cable Through Existing Electrical Conduit?
No. Do not run a Starlink data cable inside the same conduit as active 240V mains wiring. Data and power cabling need separate pathways for safety and reliability.
Sharing conduit with mains wiring can create interference, damage equipment, and create avoidable electrical risk. If you are unsure, ask a licensed electrician or cabler before pulling anything through.
Does the Standard Starlink Cable Routing Kit Work for No-Drill Installs?
Standard Starlink routing kits are mainly designed for permanent wall penetrations. They usually rely on drilled holes, grommets, and a fixed cable path through the wall.
For a drill-free setup, you are generally looking at existing entries, surface-mounted cable management, removable sealants, and suitable window or vent pass-through methods instead.
Will Pinching the Cable in a Window Frame Affect Performance?
Yes. Pinching the cable in a rigid window frame can crush the conductors and cause dropouts, speed issues, or complete connection failure.
If a window is your only practical option, use a supported flat pass-through arrangement and enough weatherstripping to protect the cable from pressure.
What Is the Cleanest Way to Finish a Drill-Free Starlink Install?
Running your satellite internet cable indoors does not need to mean cutting into brickwork, cladding, or caravan panels. With the right existing entry point, a drip loop, careful sealing, and proper cable support, you can keep the install tidy, weatherproof, and easy to reverse later.
SpaceTek Australia specialises in Australian-designed Starlink accessories, off-grid DC power solutions, and durable Starlink mounts. Explore our House Starlink Mounts and Accessories for clean, secure installation options built for Australian conditions.

Leave a comment
This site is protected by hCaptcha and the hCaptcha Privacy Policy and Terms of Service apply.